































How to untangle a fine chain without breaking it
Looking for how to untangle a chain without damaging it? Good news: almost any knot, even a tight one, can be undone with patience, a smooth surface and two pins.
This guide walks you through the method step by step, the tools you’ll need, precautions for a very fine gold or silver chain, and storage tips to keep knots from coming back.
Why do chains get tangled?
A chain is a series of small, movable links. As soon as it’s piled up, each link can slip through the space between its neighbors, and a simple movement is enough to form a loop, then a knot.

The three causes of a knot
- A pile: a chain tossed into a box or drawer folds over itself.
- Contact: two chains lying next to each other catch on their links.
- Movement: a bag, suitcase or drawer being opened makes the chains roll around and tightens the loops.
Why fine chains knot more quickly
The finer a chain is, the smaller and lighter its links are. They slip easily into one another, and even the slightest weight tightens them. That’s why searches most often focus on very fine gold chains, fine chains and silver chains.
Everyday habits matter too. A chain worn overnight twists under a pillow, a scarf rubs against a necklace, and hair gets caught in the links. Taking off your chain before sleeping or exercising already helps prevent many knots.
The good news: a recent knot is less tight than an old one. The sooner you tackle it, the easier it is to untangle.
What to prepare before tackling the knot
You don’t need much, but have everything ready before you start. Trying to untangle a chain in a hurry often ends with it breaking.
| Item | What it’s for | What to use |
|---|---|---|
| Smooth, light-colored surface | To see the links and help them slide | White plate, tray or sheet of paper |
| Two pins or fine needles | To separate the loops in the knot | Fine points, held like chopsticks |
| A drop of oil | To help the links slide | Vegetable or baby oil, just one drop |
| Warm water and mild soap | To loosen an old knot | A bowl, a few drops of soap, no hot water |
| Good lighting and a magnifying glass | To spot which strand to move | Desk lamp; magnifying glass for very fine links |
| Soft cloth | To wipe and dry the chain | Clean microfiber or cotton |
Set up your workspace
Sit at a clear table under a lamp. Place a cloth or sheet of paper beneath the plate so you can find any link that falls. Never untangle a chain over a sink: if it slips, it’s gone.

How to untangle a chain: step-by-step method
Here’s a method that works for most knots. Take your time: ten minutes is better than a broken chain.
- Lay the chain flat on the plate, with the knot in the center, without pulling on the ends.
- Add a drop of oil to the knot using the tip of a pin, so the links can slide.
- Find the loosest loop, often the one coming out of the knot, and slip a pin into it.
- Spread it apart with the second pin: the goal is to open up the space, not pull the strand.
- Feed the chain through this opening, one link at a time, changing the angle as you go.
- Wash and dry: a bath in warm, soapy water removes the oil; finish with a soft cloth.
Loosen it—never pull
This is the rule that saves your chain. Pulling on both ends makes the links slide toward the center of the knot, tightening it until it’s as hard as a peppercorn. Spreading the loops apart, on the other hand, gives it room to loosen.
Mistakes that tighten the knot
- Pulling on both ends: the knot gets as hard as a small bead.
- Using pliers: they mark or deform fine links.
- Rushing: a fine chain can break under a sudden pull.
- Working on a snagging fabric: wool or velvet catches on the links.
- Heating or soaking it too much: warm water is enough; never use very hot water.
When oil isn’t enough: a warm bath
If the knot is still tight, soak the chain in a bowl of warm water with a few drops of mild soap for a few minutes. The soapy water loosens the links and helps them slide. Carefully remove the chain, lay it on the plate and continue working with the pins.

Very fine gold or silver chains: precautions
The finest chains are the ones most likely to tangle and break. Keep a few precautions in mind.

Untangling a very fine gold chain
Gold is a soft metal: a sudden pull stretches the links, and they won’t return to their original shape. Work under a lamp with a magnifying glass and very fine needles. Each movement should separate a link by just a few millimeters, no more.
If you see a link that’s open or deformed, stop. A jeweler can close it again in a few minutes; trying to force it at home often damages it for good.
Untangling a silver chain
Silver scratches and bends more easily than gold. The method is the same, but don’t use pliers or metal tools. If your chain is tarnished, clean it after untangling it by following our guide to cleaning silver jewelry.
When the knot is very tight
A knot that’s been sitting at the bottom of a box for several weeks becomes compact. Don’t try to undo it all at once: loosen it in stages. One session of about ten minutes may be enough to give it enough slack to continue the next day.
- Bad sign: a link twists or opens while you’re working.
- Good sign: a little space appears between two neighboring links.
- Take a break: if there’s no progress after ten minutes, put the chain down and try again later.
Several chains tangled together
This is the most common situation: two or three necklaces taken out of the same box, all tangled together. The trap is to tackle the most visible knot first.

Separate them before untangling
- Find the two clasps and move them apart on the plate.
- Follow each chain with the tip of a pin, without lifting it.
- Free the sturdier chain first: a thicker chain can withstand more effort.
- Separate the shared knot into two separate knots, then work on them one at a time.
When a pendant makes things more complicated
A pendant or charm can easily catch on neighboring links. Free it first by gently turning the bail ring, then go back to the chain. Be even more careful with a fragile stone or an open clasp.
As soon as the chain is free, check it for stretched links, a clasp that no longer closes properly, or an open bail ring. It’s better to notice now than to lose a pendant when you go out.
How different chain styles affect the process
Not all chains react the same way. Here are some general guidelines to adapt to your jewelry.
| Chain style | How it behaves | Tip |
|---|---|---|
| Curb chain (oval links) | Tangles easily; the links catch on one another | Use fine pins and loosen the links one at a time |
| Flat curb chain (flat links) | Twists and forms flat loops | Lay the rings flat before spreading them |
| Snake chain (very flexible) | Bends more than it knots | Unroll slowly without pulling, do not bend at a sharp angle |
| Ball chain (small beads) | Gets caught on the beads that cross | Roll the beads, one by one |
| Fine chain with pendant | The pendant catches the links | Release the pendant first |

A twisted chain is not necessarily knotted
A chain that twists on itself, without a knot, straightens out by letting it hang for a few moments at one end, suspended from a hook. The weight of the chain is often enough to relax it.
A broken link: stop
If a link is open or deformed, the chain should no longer be worn until it is repaired. Place it in a small separate pouch, with the piece if applicable, and show it to a jeweler.
Preventing the knot from returning: the right steps
Untangling a chain is good. Preventing it from knotting again is better. Three habits make all the difference.
Close the clasp before storing
An open clasp is a knot hook. Always close it, even for a night, so that the chain forms a loop and does not hang out.
One chain, one hook or one compartment
Chains get tangled because they touch. Suspend each one on its own hook, or lay it flat in an individual compartment. Allow 5 to 6 cm between two necklaces, and vary the lengths: chains of different lengths do not cross.
Traveling: the straw and the pouch
In a suitcase, a fine chain can fit through a straw or into a small individual pouch, clasp closed. Then store it all in a compartment box: each piece of jewelry stays in its place, even when the suitcase is shaken. Our tips for the travel jewelry box detail this choice.

What storage for necklaces that do not get mixed up?
The right storage is one where each chain has its place. Here are the main families, with their strengths.
| Storage | What it does well | To plan for |
|---|---|---|
| Hook support | One chain per hook, visible at a glance | A wall or piece of furniture to place it on |
| Jewelry tree | Several lengths on a single stand | Do not overload a single branch |
| Bust or display | The necklaces hang naturally, without touching | A place on the dresser |
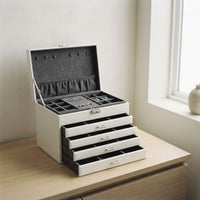
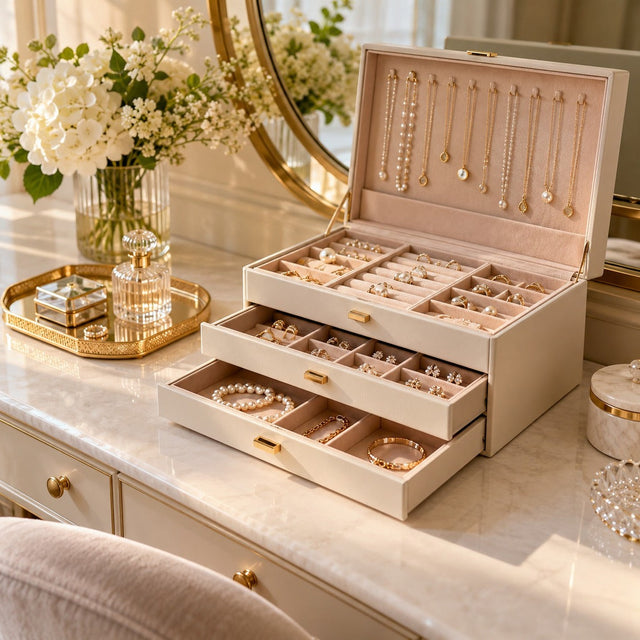
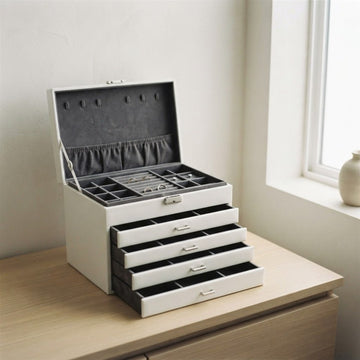
| Compartment box | Protects and separates the chains flat | One chain per case or roll |
| Wall storage | Frees up surface area, very space-saving | Drilling or adhesive mounting depending on the model |
To choose, our guide to the jewelry tree compares the models, and the one for the wall jewelry holder explains the installation. For other ideas, the article 10 storage solutions offers solutions according to the available space.


A tree for varied lengths
On a jewelry tree, the short branches hold the short chains, the tall ones the long chains. Hang a single necklace on each branch to prevent them from crossing. The bowls at the base collect rings and earrings.
Flat storage for the finest chains
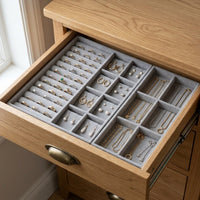
Extremely fine chains do not handle hanging well for months. In a compartment drawer or roll box, they rest flat, unrolled, each in its case. You find them ready to wear.
Some supports for storing your chains
Here are four ideas in the collections of necklace displays and jewelry trees. For chains traveling or in a drawer, also look at the jewelry boxes.
 Gold metal jewelry tree with bowl
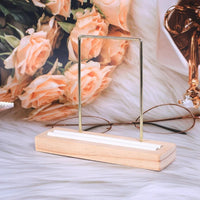
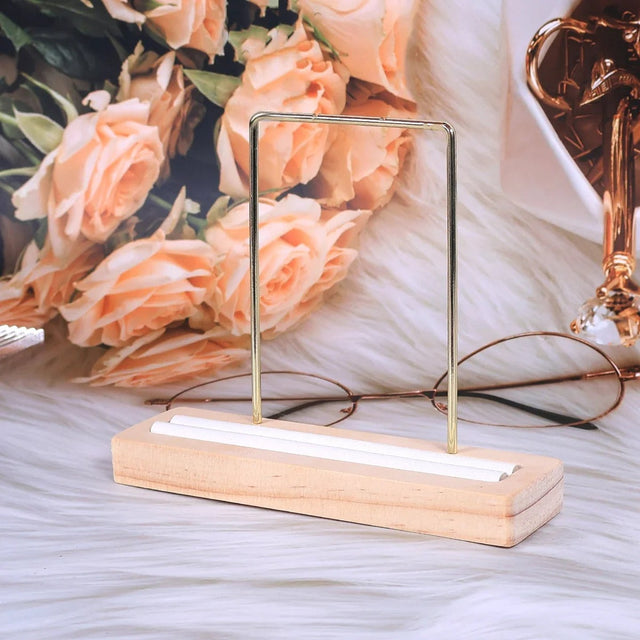
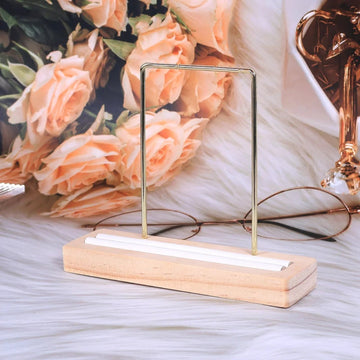
 Necklace display, wooden base and metal arch
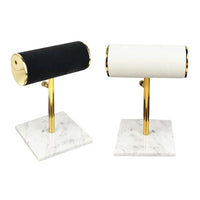
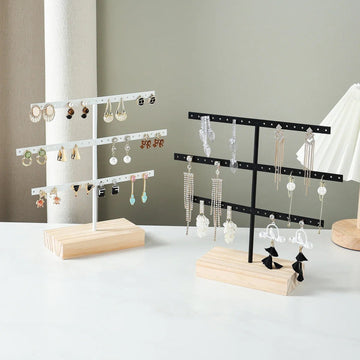
 Modern jewelry tree, black and white
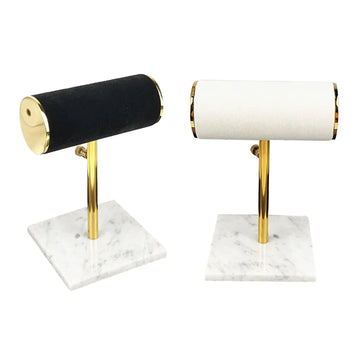
 Rotating metal display with hooks


Frequently asked questions about tangled chains
How to untangle a very fine gold chain?
Lay it flat on a smooth, light surface, place a drop of vegetable oil on the knot, then spread the loops with two pins, without ever pulling on the ends. Rinse with warm soapy water and dry with a soft cloth.
How to untangle a silver chain?
The method is the same as for gold: smooth surface, oil or warm soapy water, two fine needles. Silver scratches and bends easily, so avoid pliers. If the chain is tarnished, then read our guide to clean it.
Can you untangle a chain with oil?
Yes, a single drop of vegetable oil or baby oil is enough to make the links slide over each other. Then wipe well with a soft cloth, then wash the chain with soapy water so as not to leave a greasy film.
Why do my chains get tangled in the box?
Because they touch. In a common compartment, the fine links catch, and the slightest movement tightens the knot. One chain per hook or compartment, clasp closed, solves most cases.
What to do when the knot does not give?
Stop, let the chain soak for a few minutes in warm soapy water, then try again with the pins. If the knot remains tight after two attempts, entrust the chain to a jeweler: forcing it risks breaking a link.
How to store chains so they no longer get tangled?
Suspend each chain on its own hook, with 5 to 6 cm between two necklaces, or lay it flat in an individual compartment. Hook supports, jewelry trees and busts are made for this.
How to prevent chains from getting tangled while traveling?
Close each clasp, slide the chain into a straw or a small individual pouch, then store it in a compartment box. Each chain thus remains isolated even when the suitcase moves.
Your three-minute routine
To no longer have to untangle a chain, adopt this routine after each wear.
| Moment | Action |
|---|---|
| 1 | Close the clasp and leave the chain in a loop |
| 2 | Wipe it with a soft cloth |
| 3 | Hang it on its hook or lay it in its case |
| 4 | Check that no other chain touches it |
And if a knot returns despite everything, you know what to do: smooth surface, a drop of oil, two pins, and patience. For supports that keep your chains separate, discover the collection of necklace displays and that of jewelry trees.
Frequent searches: how to untangle a chain, how to untangle a very fine gold chain, how to untangle a silver chain, how to untangle a fine chain, how to untie a chain, untangle a necklace chain, knot in a gold chain, how to untangle two fine chains, untangle a small chain, remove a knot on a silver chain.
Get our next articles
Tips, guides and new arrivals, straight to your inbox.