

























DIY wooden jewelry box: materials, dimensions and 3 designs
A homemade wooden jewelry holder can be built with a board, a few wooden dowels, and an afternoon. It keeps rings, bracelets, earrings, and necklaces in one place, and it has the charm of something you made yourself.
This guide chooses the right wood, gives the useful dimensions, and details three designs: a compartment tray, a hanging branch, and a jewelry tree. It ends with the finishing touches and the point at which a ready-made design becomes more practical.
Why make a wooden jewelry holder?
Wood can be cut, drilled, sanded, and repaired: it is the most forgiving material for a first project. It is warm, and it showcases jewelry without adding anything to it.

There is also the obvious pleasure of using an object you made. A handmade jewelry holder can be passed down, touched up, and is gladly given to someone who likes to store things with care.
The advantages of wood
- It can be worked without machines: a hand saw, sandpaper, and a drill are enough.
- It is stable when dry, and can support the weight of fairly heavy jewelry.
- It can be finished however you like: raw, oiled, stained, or painted.
- It can be touched up: a scratch can be sanded, a hole filled.
For which jewelry?
Rings, bracelets, earrings, necklaces, watches: a wooden jewelry holder can hold it all, provided you plan space for each type. The most important thing is to separate items that might scratch each other.
How long should you plan?
An hour and a half for the tray, an hour for the branch, three hours for the jewelry tree. The finish then requires at least one night to dry.
Which wood to choose for a homemade jewelry holder?
The choice of wood affects ease of work, durability, and the final appearance. Here are the guidelines to help you choose.
| Wood | Advantage | To know |
|---|---|---|
| Pine, fir | Easy to saw and sand | Soft: it dents, and can leave resin |
| Poplar, basswood | Light, fine, very uniform | Also soft, perfect for dividers |
| Beech | Hard, dense, holds screws well | Takes longer to drill |
| Oak, walnut | Solid and decorative | Harder, well-sharpened tools |
| Driftwood | Unique shapes, ideal as a branch | Needs to be cleaned and dried completely |
| Thin plywood | Stable, inexpensive in offcuts | Edges need sanding and covering |

The other materials you need
- A round wooden dowel 1 to 2.5 cm in diameter, depending on the jewelry.
- Some wood glue and a few clamps.
- Sandpaper 120 grit, then 180, then 240 for visible surfaces.
- Some felt or velvet to line the inside of the compartments.
- Some oil or wax for the finish.
Where to find wood on a budget
Woodworking offcuts, carefully chosen pallet boards (clean, with no visible treatment), shelving slats, or an old dismantled piece of furniture make very good bases. Wooden dowels are available in all hardware stores.
Let the wood dry thoroughly before starting
Damp wood will warp later: the board will bow, the compartments will become misaligned. Leave the pieces in the room where the jewelry holder will live for a few days before cutting them.
Designing your jewelry holder: the dimensions that prevent unpleasant surprises
A scaled sketch prevents having to start over. Note what you want to store, then size each area using these common guidelines.
| Jewelry | Space to plan | Suitable support |
|---|---|---|
| Ring | 2 cm wide per ring | Compartment or cone |
| Earrings | A row of holes every 1.5 to 2 cm | Grid or perforated tray |
| Necklace | A hook every 5 cm | Branch, bar, or hooks |
| Bracelet | Bar 6 to 8 cm in diameter | Cylinder or wide dowel |
| Watch | Roll 6 to 8 cm in diameter | Cushion or bar |
These dimensions are guidelines: measure your own jewelry, especially the largest pieces, before drilling or sawing.
Measure with your real jewelry
Place your bulkiest jewelry on a sheet of paper and draw around it. You will immediately see the space needed, and you will avoid compartments that are too small for a large ring or wide bracelet.
A plan in three zones
Group small jewelry (rings, studs) at the bottom, bracelets in the middle, and necklaces at the top. You can see everything at a glance, and you never have to rummage.
Think about light and visibility
A jewelry holder you can see clearly is one you will use. Place it near a window or a mirror, at eye level, to find a piece at a glance and not have to ransack the room in the morning.
Think about weight and stability
A tall jewelry holder must have a wide and heavy base. Allow for a base at least as wide as half the height for a freestanding design, and two mounting points for a wall-mounted design.
Design 1: a wooden compartment tray
This is the simplest and most useful design: a small tray where each piece of jewelry has its own compartment. It can slide into a drawer or sit on a dresser.
The steps for the tray
- Cut the base to 24 x 16 cm from plywood or a thin board.
- Cut four border strips 3 cm high and glue them around the perimeter.
- Add the dividers: one long one in the center, two short ones to separate the compartments.
- Sand the inside up to 180 grit, then the outside edges.
- Line each compartment with cut felt, glued with fabric glue.

What height for the dividers?
Three centimeters high is enough to hold rings and earrings. For chains or bracelets that slide, go up to 4 cm. Beyond that, the tray becomes a box and the jewelry gets hidden.
A lid variant
To protect the jewelry from dust, cut a lid slightly larger than the base, with a 1 cm lip. A thin hinge and a small knob turn it into a real jewelry box.
A ready-made tray for inspiration
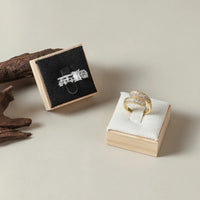
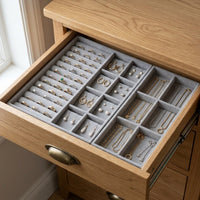
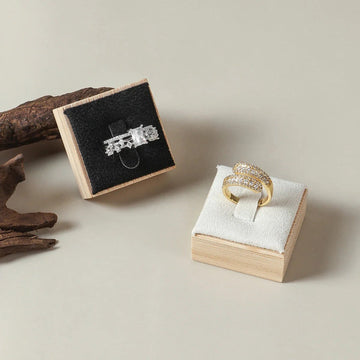
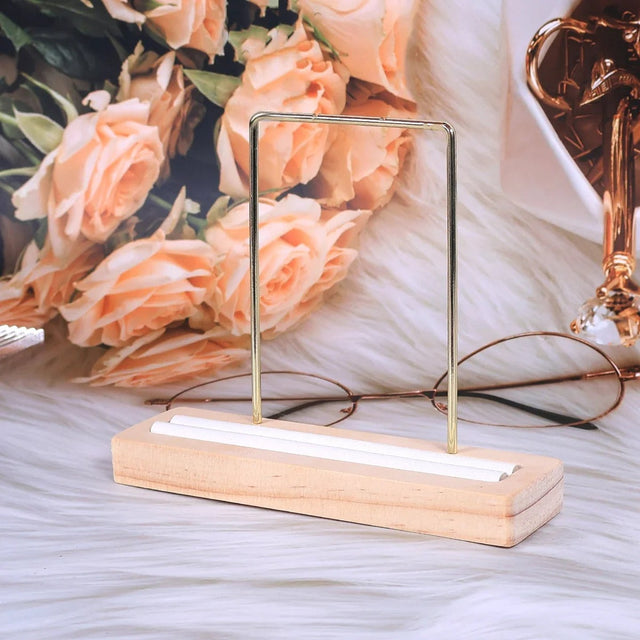
To compare proportions, look at this wooden and bamboo tray: two elongated wooden trays, lined with rings.

Design 2: a hanging branch for necklaces and bracelets
A piece of driftwood or found wood makes a unique jewelry holder, without a single straight cut. It hangs on the wall by two cords.
Choosing a good branch
Look for a branch about 3 to 5 cm in diameter, already dry, without peeling bark. Natural curves are an asset: they create hollows where bracelets rest, and bends where necklaces hang.
The materials
- A well-dried branch about 40 cm long, straight or slightly curved.
- Two screw eyes and two cords or chains.
- Some small hooks to screw in, or glued wooden rods.
The advantage of the branch: it requires neither a square nor a template. The downside: each piece is different, so each arrangement of hooks must be planned on site, by first laying the jewelry flat to identify the right locations.
The steps for the branch
- Clean the branch with a brush, remove any loose bark, and let it dry for several days.
- Sand the areas where the chains will pass, using 120-grit sandpaper, then 180-grit.
- Screw the hooks into the underside, 5 cm apart.
- Attach two eye screws at the top, tie the cords, and hang it from two sturdy points.

Model 3: a jewelry tree made of wooden dowels
This model sits on a table and holds bracelets, rings, and necklaces on its branches. It requires a little more precision, but the result looks like a boutique item.
Why a tree instead of a bar?
A tree organizes jewelry by level: bracelets at the bottom, necklaces at the top. It takes up little floor space, and every piece remains visible without having to search for it.
Dimensions
- Central stem: a dowel 2.5 cm in diameter and 30 cm high.
- Branches: six dowels 1.2 cm in diameter and 12 cm long.
- Base: a 2 cm thick board, approximately 22 cm wide.
Step-by-step assembly
- Drill the base in the center, with a hole the diameter of the stem, without drilling all the way through.
- Drill the stem at three heights, with two holes opposite each other at each level, slightly angled upward.
- Glue the branches into the holes, and let the glue set overnight using a clamp.
- Glue the stem into the base and check that it is vertical using a square.
Ring holder variation
Replace two branches with small 1 cm dowels, planted straight and 5 cm high: each ring can be slipped onto one, keeping it clearly visible. Glue them into shallow holes with a dab of wood glue.
Branches angled slightly upward (10 to 15 degrees) hold bracelets without letting them slip. Necklaces rest on the top branch, while rings slide onto the shortest ones.

Finishing: sand, oil, and let dry before storing
Finishing makes the wood smooth to the touch, protects its surface, and prevents fine jewelry from snagging. It is done in three steps.
- Sand with 120-grit sandpaper, then 180-grit, and finally 240-grit on the areas that will come into contact with the jewelry.
- Dust with a slightly damp cloth, then let dry.
- Apply oil or wax in two thin coats, wiping off the excess after ten minutes.

Let the odor dissipate before storing
Oils, waxes, and glues retain their odor for several days. Let the jewelry holder air out in a well-ventilated room before storing your pieces, especially if they are made of silver.
Should you stain or paint the wood?
A dark stain makes light jewelry stand out, while a light stain highlights silver and colored stones. Test the color on a scrap piece before applying it, as wood absorbs stain differently depending on the type.
Line the interior
Felting or velvet glued to the bottom of the compartments prevents scratches. Choose a neutral color that highlights the jewelry: beige, light gray, or deep green.
Homemade or ready-made: how to choose?
A homemade jewelry holder is ideal for a few pieces. For a large collection, or if you are short on time, a ready-made model remains more practical. Here is the comparison.
| Criterion | Homemade | Ready-made model |
|---|---|---|
| Dimensions | Custom-made, to fit your jewelry | Standard, to be checked before choosing |
| Time | Half a day to a day | Immediate |
| Tools | Saw, drill, sander | None |
| Finish | Depends on your precision | Uniform |
| Enjoyment | A unique object | An immediately tidy storage solution |

The best choice is often a combination: a small homemade tray for everyday jewelry, and a ready-made holder for more valuable or numerous pieces.
When to switch to a ready-made model?
If you have more than thirty pieces, heavy bracelets, or watches, a holder sized for them is safer. You can keep your homemade piece for small jewelry.
Ready-made wooden jewelry holders to compare or take over
Here are four models from the store to compare proportions. The others are in the wooden jewelry display collection and the jewelry holder collection.
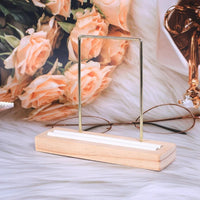
 Wooden Bracelet Holder Gift for Women and Men
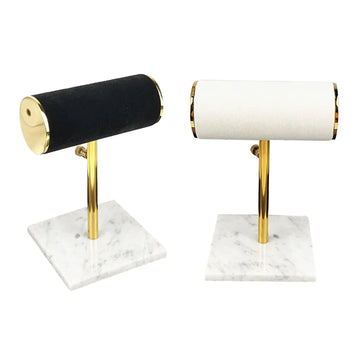
 Wooden 3-Level Bracelet and Watch Display
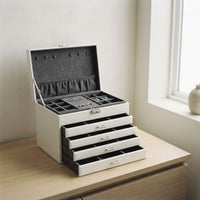
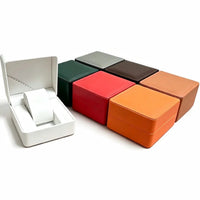
 Bamboo Jewelry Box with 6 Drawers for Storage
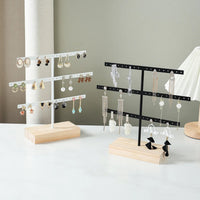
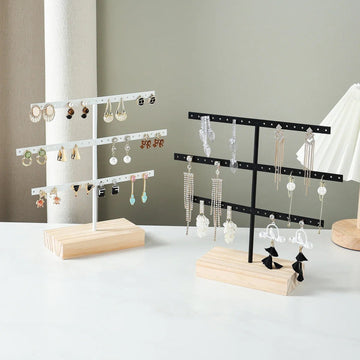
 Wooden and Metal 3-Tier Earring Display
For better organization, also read our guide to the wall-mounted jewelry holder, our jewelry storage ideas, and the cardboard version if you want a quicker project: making a cardboard jewelry holder. Necklaces have their own guide: the DIY necklace display.
To go further: Wooden or plastic display: which lasts longer? and Professional or homemade jewelry display: which to choose?.
Frequently asked questions about the homemade wooden jewelry holder
How to make a wooden jewelry holder?
Choose dry wood, cut the pieces, sand them, assemble them with wood glue and clamps, then oil them. A compartment tray can be made in an hour and a half, a jewelry tree in three hours.
What wood to choose for a jewelry holder?
Pine or poplar are very easy to work with. Harder beech holds screws better. In any case, choose dry wood and sand it carefully.
What wood for a jewelry box?
A hard and stable wood is well suited, such as beech, oak, or walnut. To start, thin plywood or poplar are easier to cut and assemble.
How to prevent jewelry from snagging the wood?
Sand with 240-grit sandpaper on the contact areas, round the edges, and line the compartments with felt. A thin layer of wax makes the surface smooth.
What oil to use for the finish?
A natural wood oil or beeswax is suitable. Apply two thin coats, wipe off the excess, and let dry long enough for the odor to disappear before storing your jewelry.
Can you use driftwood for a jewelry holder?
Yes, provided you brush it, let it dry completely, and sand the contact areas. It gives unique shapes, ideal for a suspended branch.
Your plan for a successful wooden jewelry holder
To move forward without wasting time, follow this order.
| Step | Action |
|---|---|
| 1 | List what you want to store, measure the largest jewelry |
| 2 | Choose the model: tray, branch, or tree |
| 3 | Buy dry wood, cut and sand |
| 4 | Assemble, glue, clamp, let set overnight |
| 5 | Oil, air out, test with a piece of jewelry of little value |
Keep your homemade jewelry holder for everyday pieces, and discover the jewelry holder collection when you want a larger storage solution.
Popular searches: homemade wooden jewelry holder, handmade wooden jewelry holder, homemade jewelry holder, making a wooden jewelry holder, how to make a wooden jewelry holder, what wood for a jewelry box, homemade jewelry holder idea, driftwood jewelry holder, DIY jewelry holder, making a wooden jewelry holder.
Get our next articles
Tips, guides and new arrivals, straight to your inbox.