

























How to set up a jewelry stand that attracts customers?
How to create a jewelry stand that attracts customers? (markets, trade shows, pop-ups & boutiques)
A good stand is not just a nicely decorated table: it's an attention-grabbing machine that converts curious visitors into buyers.
In this ultra-practical guide, you will build a magnetic jewelry stand: 3-level visual architecture, color palette, lighting, zoning, legible prices, security, social proof, and displays optimized for bracelets, necklaces, rings, earrings, watches and piercings.


1) Clarify the objective and audience
Before buying a tablecloth or a bust, define: who you are targeting, which range you are promoting, and what result you expect (immediate sales, order collection, newsletter sign-ups). Your stand must reflect this choice: materials, palette, product density and messages.
- Costume jewelry & gifts: controlled abundance, low prices, free access.
- Handcrafted creation: natural textures (linen, wood), material labels, story of the piece.
- Fine jewelry: breathing room, few visible pieces, focus on the finish, premium bells and trays.
2) Stand architecture: the 3-level rule
An impactful stand is visible from afar, from mid-distance, and up close. Build a visual pyramid:
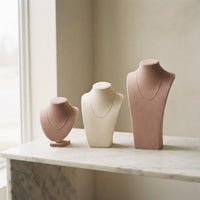
- Top (90–140 cm from the ground): 1–2 “totem” pieces on a bust or bell, clear message.
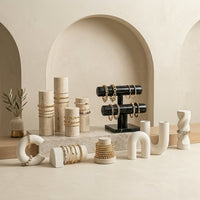
- Middle: bracelet bars, earring frames, ring ramps — controlled variety.
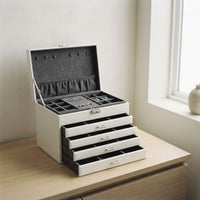
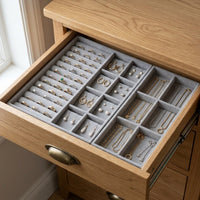
- Bottom: honeycomb trays, boxes, restock drawers.
Alternate heights, create a horizon line and avoid the “flat wall”. Modular risers are your best allies.

3) The essential displays by jewelry type
Choose coherent supports (same material/color) to anchor your identity. Here is an effective base:
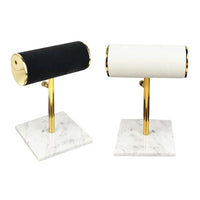
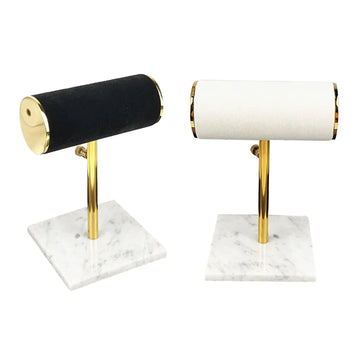
- Bracelets: simple/double bars or inclined ramps (avoids stacking). → Bracelet displays
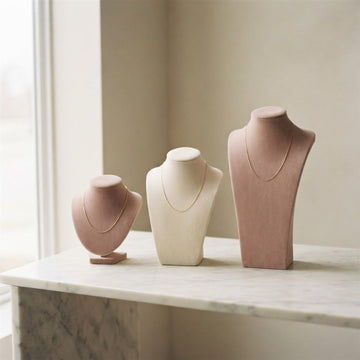
- Necklaces & chains: busts at different heights; add a tree for long chains. → Necklace and chain displays
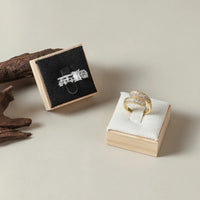
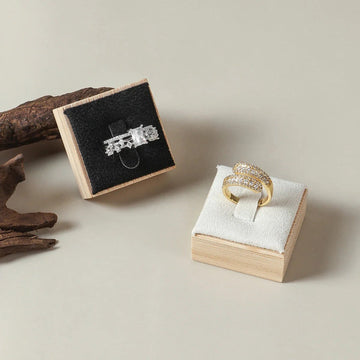
- Rings: cones, square cushions, 6/12-place ramps for quick size reading. → Ring displays
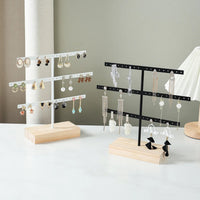
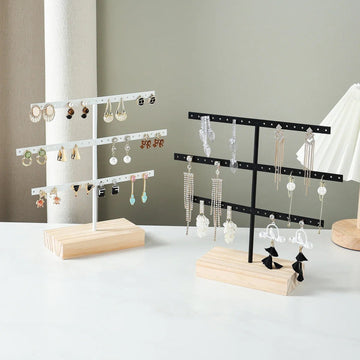
- Earrings: perforated frames + plates for studs; think about symmetry. → Earring displays
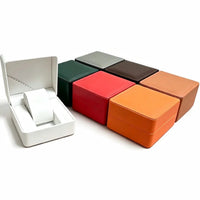
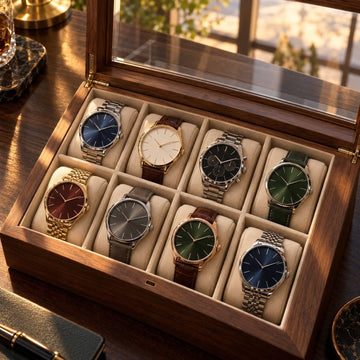
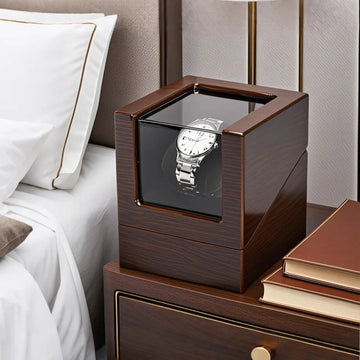
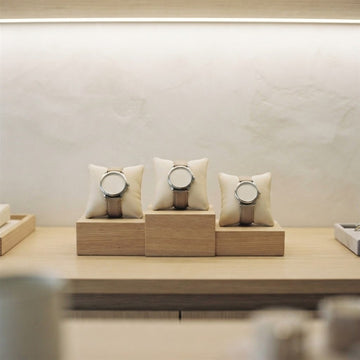
- Watches: rigid cushions, “C” or “U” bridges, aligned shelves. → Watch displays
- Piercing: microfiber plates, secured bars, color codes by metal. → Earring and piercing displays
Materials that performed best on stand
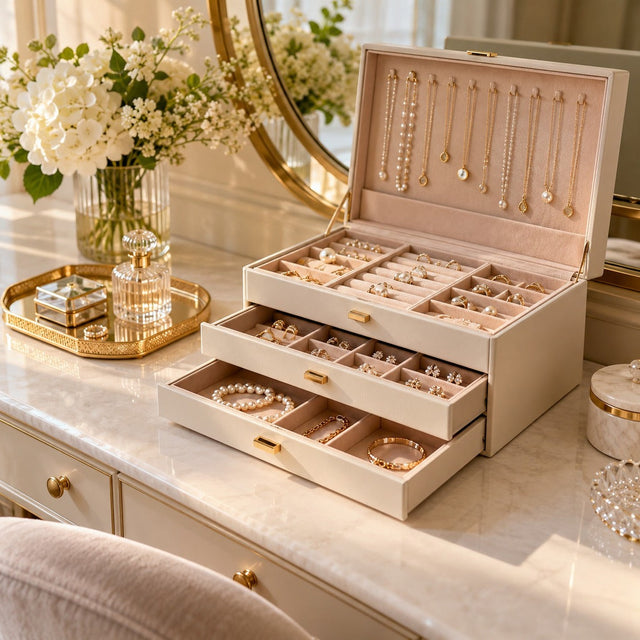
- Matte faux leather: clear reading, easy maintenance, premium look.
- Microfiber/velvet: absorbs reflections, ideal under strong lighting.
- Light wood: handcrafted storytelling, suitable for silver, gold plated and natural gems.
- Transparent acrylic: “levitation” effect, useful to not visually weigh down.

4) Colors & light that stop the gaze
The palette must serve your metals/stones, not the reverse:
- Yellow gold: cream, sand, linen backgrounds; warm light 3000–3500K.
- White gold / diamonds: anthracite gray, matte black; 4000–4500K (CRI ≥ 90).
- Colored gems: matte neutral backgrounds (gray, ivory) to preserve saturation.
Multiply the light points (two soft angles + one accent) rather than a single aggressive spotlight. Avoid bluish LEDs that “cool down” yellow gold.
5) Zoning & circulation: attract, make them stay, convert
| Zone | Role | Recommended supports | Conversion tip |
|---|---|---|---|
| Hook (aisle edge) | Stop the flow | Totem bust + bell | Clear message (5 words) + entry price |
| Discovery (center) | Explore without stress | Bracelet bars, earring frames | 2+1 bundles, material cards |
| Decision (checkout) | Conclude & upsell | Small pieces trays | Complementary offer at -15% |
Keep an 80–90 cm aisle in front of the table so two people can pass each other. Hands-free baskets increase time spent and the number of items per ticket.
6) Storytelling, prices and signage that sell
- Price tags: piece name, metal/stone, size; font legible from 1 m.
- Visible prices: avoid discomfort and speed up the decision (put price ranges).
- Story: 2 lines max behind the totem piece (origin, technique, inspiration).
- Social proof: mini frame “+2,000 customers”, printed reviews, QR to Instagram.
- Call to action: “Try here”, “Create your combo”, “Free engraving this weekend”.

7) Security, loss prevention & express maintenance
- Discreet attachment points on busts and bars (mini nylon threads, magnets under the tray).
- Glass bell for the most expensive piece; covered trays for the reserve.
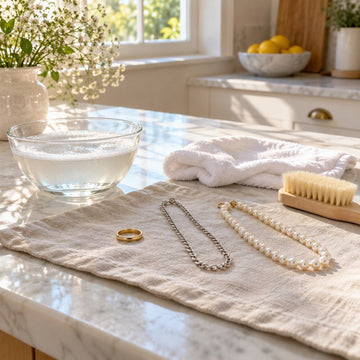
- Cleaning: microfiber + air blower; avoid sprays that stain the velvet.
- Flow: checkout in direct view on 80% of the stand; corner checkout = better control.
8) Three stand plans ready to copy
Stand 1 m (market / folding table)
- Left: necklace bust (height 35–45 cm) → necklace displays
- Center: earring frame + ring ramp → earring displays | ring displays
- Right: simple bracelet bar → bracelet displays
- Front: mini price easel + QR to Instagram
Stand 2 m (creator show)
- Entrance totem: bell + signature piece
- Module A: watches/piercing on plates and cushions → watch displays | earring and piercing displays
- Module B: bracelet/ring combo (offset heights)
- Checkout: “small prices” tray for the final upsell
3 m stand (premium pop-up)
- Back wall: earring grids & chains (breathing room + visual repetition)
- Central island: double-height busts + bracelet bars
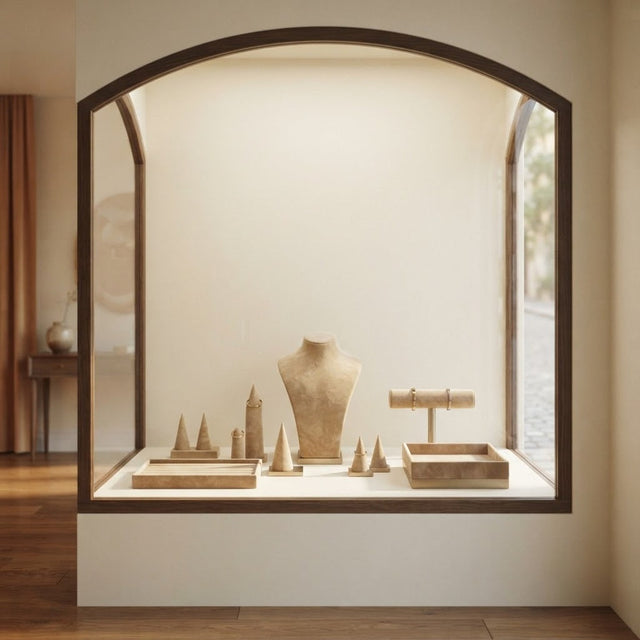
- Low display case: jewelry under glass domes with placards
- Selfie area: mirror + soft lighting, brand hashtag

9) Express checklists & event kit
"Ready for Opening" Checklist
- ✔ Displays clean, aligned, non-slip pads in place
- ✔ Prices legible (tiered), placards short and consistent
- ✔ Lights tested (temperature & CRI), no glare
- ✔ Hero piece visible from 5 m, offer of the day displayed
- ✔ Stock sorted (closed trays), cloths & gloves ready
Your equipment base
- 2–3 necklace busts (different heights)
- 1–2 bracelet bars + 1 ring rail (6–12 slots)
- 1 earring frame, 1 glass dome
- 1 watch or earring and piercing module depending on your range
- Matte neutral tablecloth/throw, risers, double-sided tape, power strip
10) Errors to avoid on a jewelry stand
A jewelry stand can be beautiful and sell little. Almost always, the cause lies in a few simple errors, easy to spot when you step back a few paces and look at the table like a visitor.
| Common error | Effect on the visitor | Correction |
|---|---|---|
| A flat wall of jewelry | The eye slides past without stopping | Alternate heights, create a horizon line |
| Missing prices | Awkwardness, they don't dare ask | Display prices, with tiers |
| A single spot, too cold | Yellow gold looks dull | Two soft angles and an accent, 3000–3500 K for yellow gold |
| A cluttered table | No piece stands out | Fewer pieces per support, one hero piece |
| An aisle too narrow | They hesitate to enter | Keep 80–90 cm in front of the table |
| A hidden cash box | Difficult control, decision slowed | Cash box at an angle, direct view of 80% of the stand |
Too much jewelry, not enough breathing room
The more loaded the table, the less the eye knows where to rest. A display that holds three clearly readable pieces is better understood than an overloaded support. Store the rest in reserve, in closed trays, and restock throughout the day.
A stand that doesn't say who you are
Supports of different materials and colors give the impression of a mess. Choose one material and one palette, then stick to it: matte faux leather, microfiber, light wood or acrylic. Your placards, your tablecloth and your lighting then tell the same story.
Forgetting maintenance during the day
A speck of dust on the velvet, a fingerprint on the dome or a crooked bar is visible from afar. Keep a microfiber cloth at hand, blow away the dust, align the displays at every break and avoid sprays that stain the velvet.
11) Prepare and set up your stand without stress
A well-thought-out stand is set up in the right order. Placing the structure first, then the jewelry, then the light avoids having to redo everything at the last moment. Here is a simple order to follow, from the bare table to the final check.
The equipment not to forget
- A neutral and matte tablecloth or throw, that does not reflect light.
- Risers to stagger heights.
- Double-sided tape to secure placards and light supports.
- A power strip, if your location is equipped and the organizer authorizes it.
- Microfiber cloths and fine gloves to handle the pieces.
- A bag for packaging and waste.
Store this kit in a single box, always the same. Next setup, nothing is missing and everything is found in the same place.
Setting up outdoors: wind, ground and weight
At an outdoor market, the wind is the first adversary. Choose busts with a heavy base, secure the placards, weigh down the tablecloth and keep light pieces safe under a dome. An uneven ground is compensated with wedges under the table legs.
For any electrical supply, follow the organizer's instructions. In case of doubt, ask a professional for advice: a poorly installed extension cord has no place near the public.
Keep a record of your setup
When you like the stand, photograph it from the front and three-quarters, then keep the planogram on your phone. Note the place of each display and the height of the hero piece: the next setup will go much faster.

12) Market, trade show, pop-up or boutique: adapt your stand
The same stand is not set up the same way at a market, in a trade show or in a boutique. What changes is the time the visitor gives you and what they expect from you.
| Context | What matters | Stand choice |
|---|---|---|
| Market | Attract in a few seconds | Folding table, one hero piece, simple reading |
| Designer trade show | Chat and present the range | Two modules, detailed placards, contact cards |
| Premium pop-up | The atmosphere and rarity | Few pieces, domes, soft lighting |
| Boutique | Consistency over time | Matching displays, rotation of pieces, neat display case |
At a market: be readable in a few seconds
The passerby only stops for a second or two. A hero piece at eye level, a five-word message and visible prices are enough to keep them. Keep the rest of the table simple, with one display per jewelry family.
In a trade show: keep the conversation going
Trade show visitors take the time to look and ask questions. Provide more complete placards, a corner to try the pieces and a place to leave or take contact details. A second module presents the range without crowding it.
In a pop-up or boutique: take care of the atmosphere
Here, you also sell an atmosphere. Only a few pieces are visible, under a dome or on a tray, in soft lighting and a sober decor. In a boutique, regularly renew the featured pieces so that the stand does not become static.

13) Extend the sale after the event
The sale does not stop when the customer walks away from the table. A few simple gestures transform a passing into a lasting relationship, and a one-off stand into regular customers.
Leave a way to find you
Display a QR code to your boutique or your account, or offer a contact list to fill out for those who wish. Also slip a business card into each pouch. The customer who hesitates on the spot can come back when they have decided.
Wrap it like a gift
A piece of jewelry is very often a gift. A clean pouch, tissue paper and a small thank-you card make them want to come back and talk about you. Keep this packaging corner near the cash box, on the small pieces tray.
Learn from the stand
At the end of the day, note the most viewed pieces, those that sold and the slow moments. Compare with your planogram, then adjust the heights, colors and lighting. Each stand then becomes the draft of the next.
To renew your supports before the next appointment, browse the jewelry busts and jewelry trays collections.

Our favorites to equip a jewelry stand
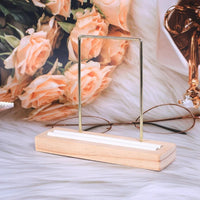
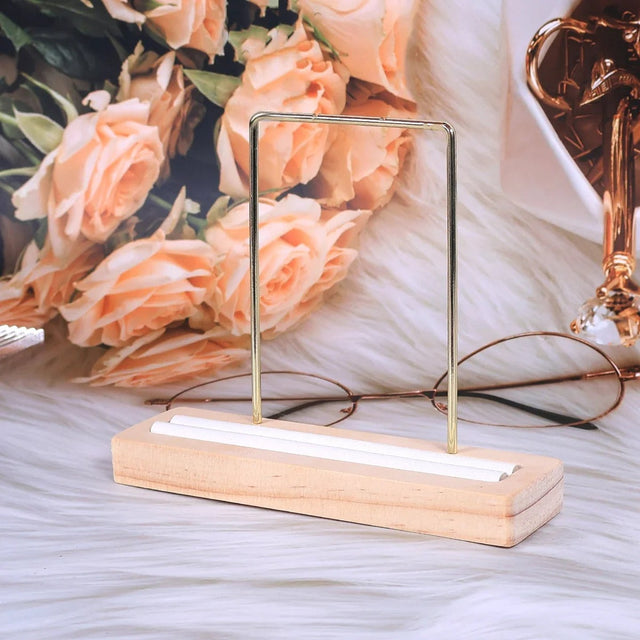
Four displays from the store meet the areas of the stand: a bust for the hero piece, a bar for bracelets, cones for rings and a frame for earrings.


Read also: how to organize a professional jewelry stand, mistakes to avoid at a market or trade show and setting up a stand for a trade show.
FAQ – Jewelry Stand
What height should I choose for the displays on a jewelry stand?
Use three levels. Place one or two statement pieces at the top, between 90 and 140 cm above the floor, on a bust or under a glass dome. Bars, frames, and rails occupy the middle level, while trays and boxes remain at the bottom. On a one-meter stand, necklace busts are 35 to 45 cm tall.
What lighting is best for a jewelry stand?
Use multiple light sources: two soft angles and one accent light, rather than a single harsh spotlight. Aim for 3000–3500 K for yellow gold, and 4000–4500 K with a CRI of at least 90 for white gold and diamonds. Avoid bluish LEDs.
How many displays should I plan for a one-meter stand?
A one-meter tabletop can accommodate four supports: a necklace bust, an earring frame, a ring rail, and a bracelet bar, plus a mini price easel at the front. Add a watch or piercing module depending on your range, without filling every inch.
Should I display prices on a jewelry stand?
Yes. Visible prices prevent discomfort and speed up decision-making. Display them in price ranges, on labels readable from one meter away, with the name of the piece, the metal or stone, and the size.
How can I secure jewelry on a stand?
Use discreet attachment points on the busts and bars, such as small nylon threads or magnets under the tray. Place the most expensive piece under a glass dome, store the reserve stock in covered trays, and keep the cash box in direct view over 80% of the stand.
What basic equipment do I need to start a jewelry stand?
Plan for two or three necklace busts of different heights, one or two bracelet bars, a ring rail with 6 to 12 slots, an earring frame, and a glass dome. Add a neutral matte tablecloth, risers, double-sided tape, and a power strip.
How can I attract customers to a jewelry stand?
Focus on a statement piece visible from 5 m away, a clear five-word message, and a color palette that complements your metals. Keep an 80–90 cm aisle in front of the table and offer a low-pressure welcome: customers are more likely to enter when they can browse without feeling pressured.
Get our next articles
Tips, guides and new arrivals, straight to your inbox.