
























How to take good photos of jewelry?
Why take care of your jewelry photography
One bad photo, and the most beautiful piece in the world remains unsold. One carefully crafted photo, and a simple silver ring takes on the appearance of fine jewelry.
Jewelry photography is one of the most profitable levers for a creator, a jeweler or an online retailer: it directly conditions the click-through rate, the average basket and the perceived value. The good news is that it is not essential to own a professional studio to obtain images worthy of a luxury site.
With well-balanced light, a coherent background, the right display and a few simple framing rules, we transform a smartphone or an entry-level DSLR into a real sales tool.
This guide explains step by step how to photograph jewelry in real conditions, with or without a studio, and how to avoid the mistakes that still weigh down many online stores.

The minimum equipment for beautiful jewelry photos
You can start with very little, provided you choose well. A recent smartphone is enough in 80% of cases if you manage the light and the display correctly. A DSLR or mirrorless camera with a macro lens will give you an edge on details and depth.

- Body: smartphone with dual sensor, APS-C or full frame mirrorless, or DSLR.
- Lens: 90 or 100 mm macro for detailed pieces (rings, pendants), 50 mm for lifestyle views.
- Tripod: essential. A slight vibration ruins sharpness in macro.
- Light sources: natural light from a large window, or two 5500 K LED panels with adjustable intensity.
- Diffuser: white fabric, tracing paper, or cheap softbox.
- Reflector: white cardboard or aluminum to catch shadows.
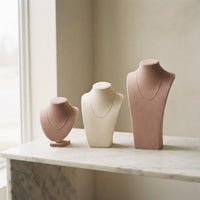
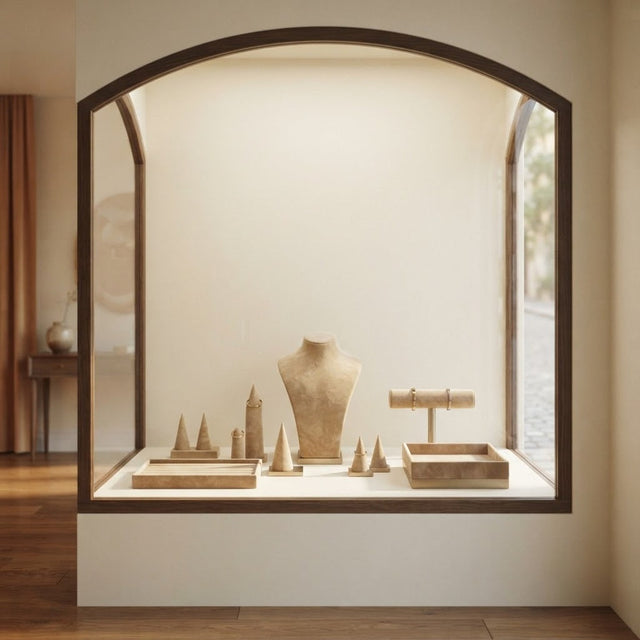
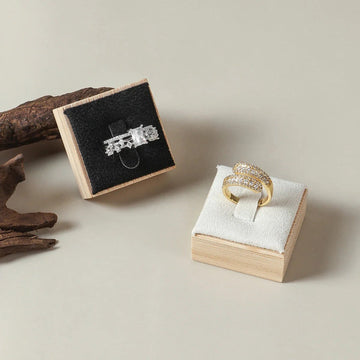
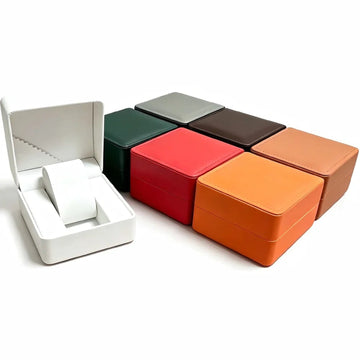
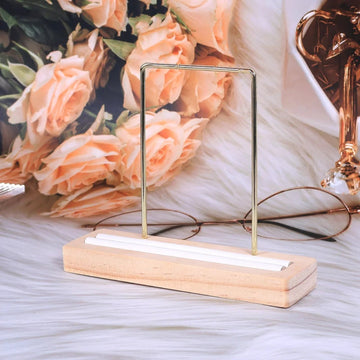
- Displays: busts, supports, trays, mini-cushions — it's what distinguishes an amateur photo from a store photo.
The total remains affordable: with a tripod, a mid-range LED light kit and a selection of coherent displays, you have the equipment of a functional jewelry photo studio.
Mastering the light: the absolute key
If only one thing distinguishes a successful jewelry photo from a mediocre photo, it's the light. Precious metals and stones require a soft but directional lighting, capable of bringing the facets to life without creating harsh reflections. Three great options are available to you.
Natural light
Ideal for beginner creators, it gives a warm and flattering result. Place your table 50 cm from a large north-facing window or diffused by a white curtain. Avoid direct sunlight: it creates too harsh shadows and white reflections on the stones. Photograph in the mid-morning or mid-afternoon.

Continuous LED light
The most practical solution for regular production. Two 5500 K LED panels placed at 45° on each side of the piece, completed by a diffuser, give a homogeneous and reproducible lighting. It's the ideal choice for a coherent catalog.
The light tent
A closed lightbox diffuses the light on 360°. Perfect for rings, earrings or shiny chains: it eliminates parasitic reflections and gives that immaculate white background expected on marketplaces.
Discover our jewelry displays designed for photography
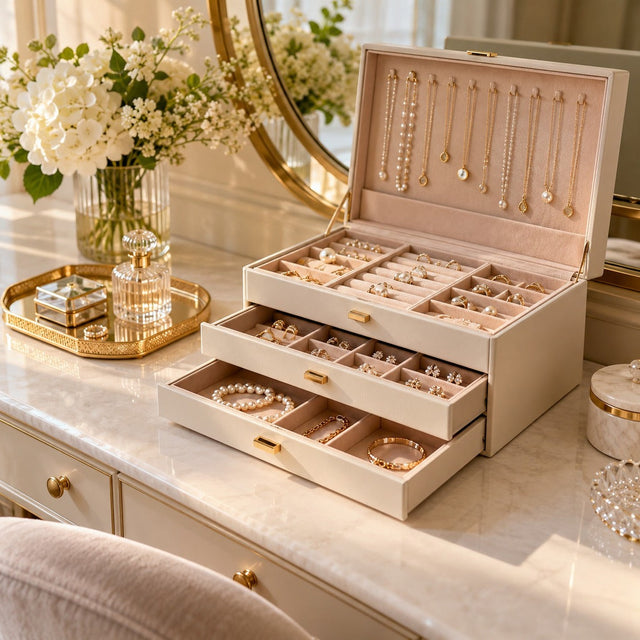
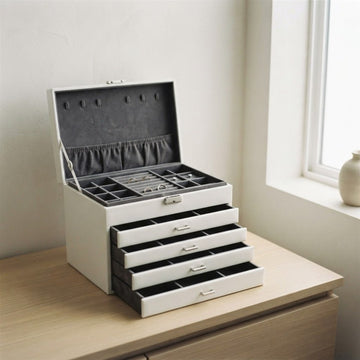
Busts, ring supports, trays, bracelet holders: choose displays in velvet, linen or faux suede to magnify your pieces from the shot.
See the collectionChoosing the right background and mood
The background tells your brand as much as the jewelry itself. There are three great families, each with its intention.
- Neutral solid background: pure white, sand beige, pearl gray. Essential for product pages, marketplaces (Amazon, Etsy, Cdiscount) and packshot visuals.
- Soft textured background: linen, velvet, faux suede, light marble. Perfect for homepages, Instagram visuals and highlighting premium collections.
- Staged background: noble materials (wood, raw stone, dried flowers), lifestyle accessories. Ideal for storytelling, newsletters and seasonal campaigns.
Golden rule: a background should never be more contrasting than the jewelry. For a gold necklace, prefer a burgundy or camel velvet; for silver, a taupe gray, a cream or a veined marble.
The displays that change everything
The display is the least shared secret of professional jewelry photographers. It does three things at once: it holds the piece in the perfect position, it gives volume to the image, and it tells a brand story. Choosing the right support means winning half an hour of retouching per photo.
For necklaces and long necklaces
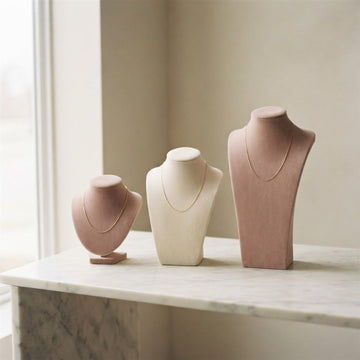
A necklace bust in velvet or linen elongates the chain, highlights the pendant and immediately gives a store effect. Prefer a matte bust (velvet, faux suede) to a shiny bust that will catch too much light.
For rings

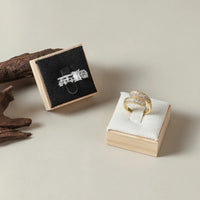
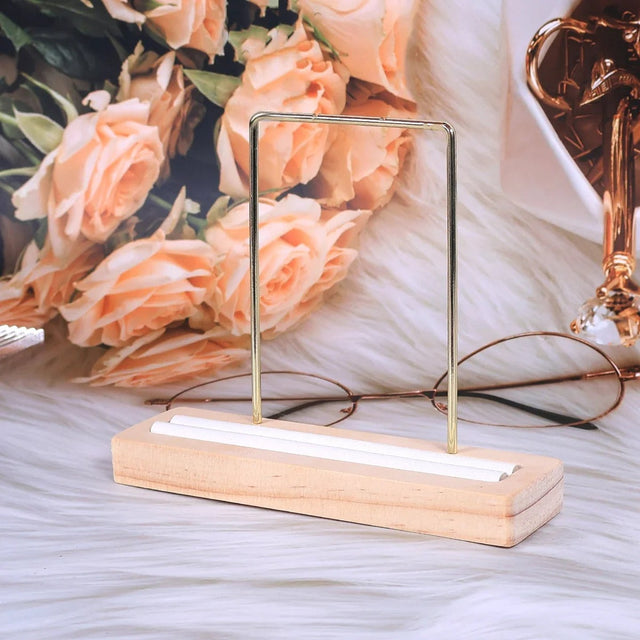
A ring display in wood or patinated metal allows to present a single piece or a complete collection. For the packshot photo, a mini velvet cushion is ideal; for lifestyle, a sculptural support in ceramic or marble tells the piece better.
For earrings

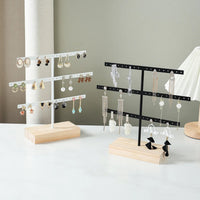
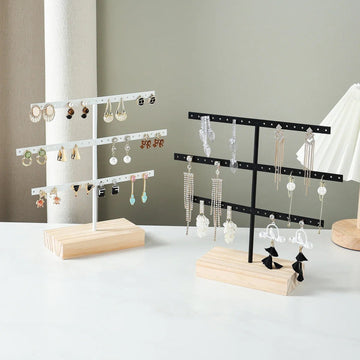
An earring display in clear acrylic or faux suede highlights movement and length. It is the only way to cleanly photograph leverback earrings or hoops without them getting tangled.
For bracelets and watches
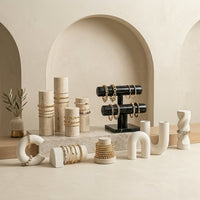
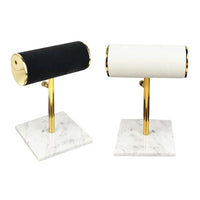
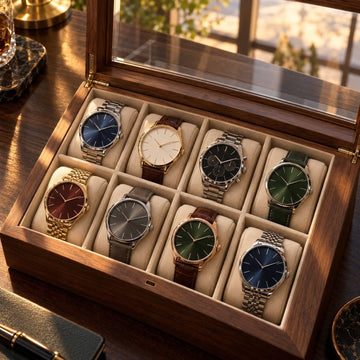
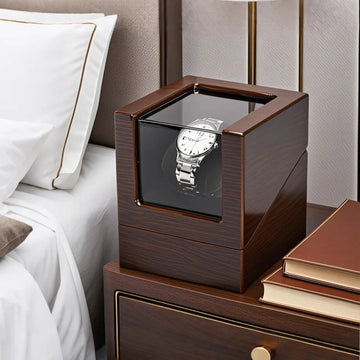
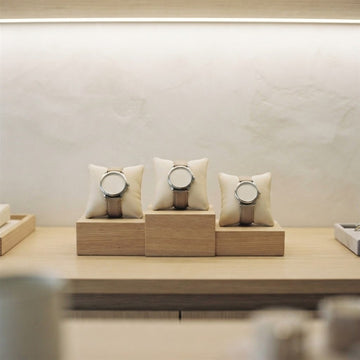
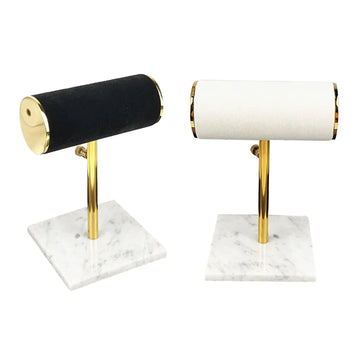
A cylindrical bracelet holder covered in leather or velvet gives volume to the visual. For watches, a mini wrist bust allows to keep the bracelet open and to light the dial correctly.
For overview views
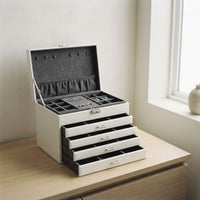
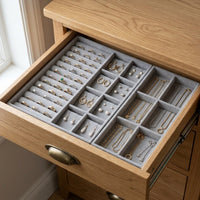
A jewelry tray in velvet, linen or patinated wood allows to present an entire collection flat. It's the ideal format for Instagram flat lay visuals and for homepage banners.
Framing, angles and staging

The rule of thirds also works for jewelry. Avoid systematically centering: slightly offsetting the piece creates dynamism and leaves room for text on banners. Three angles to master.
- The plunging angle (top down): camera perfectly above the jewelry. Perfect for flat lays, trays, overview shots.
- The 45° angle: the most used in e-commerce. Gives relief without distorting.
- The frontal macro angle: camera at the height of the jewelry. Highlights the depth of a stone, the detail of an engraving, the twist of a ring.
For each piece, ideally plan five photos: packshot on solid background, 45° view, macro detail, worn view (on bust or model), lifestyle mood view. This rule of 5 visuals, systematically applied, can increase the conversion rate by 20 to 40%.
The technical settings to know
A good setting simplifies everything else. Here are the standard parameters to memorize for jewelry photography.
| Parameter | Recommended value | Why |
|---|---|---|
| ISO | 100 to 200 | No noise, sharp colors |
| Aperture | f/8 to f/13 | Good depth of field on the whole piece |
| Speed | 1/60 to 1/15 s | Possible only on tripod, captures all the light |
| White balance | 5500 K (daylight) | Faithful rendering of metals and stones |
| Format | RAW | Maximum retouching margin |
| Focus | Manual or spot | Sharp on the main stone or the engraving |
On smartphone, disable automatic filters, activate pro mode (HDR off, fixed light), lock the exposure, and prefer RAW format if the device allows it.

Retouching and catalog consistency
Retouching is not a luxury, it's what makes your catalog homogeneous. Three steps are enough: white balance, light contrast, dust cleaning. For a pure white background, slightly increase the brightness, lower the blacks, and use the "lasso" tool to isolate the piece.
Work your visuals in preset: the same filter, the same brightness, the same square or portrait framing. It's what creates a recognizable visual identity. A store with 200 harmonized visuals always sells better than a store with 200 disparate visuals.
Compose your photo display kit
Bust, tray, ring support, earring support: our collections cover all shooting configurations, from strict packshot to Instagram lifestyle.
Discover our displaysThe mistakes that cost sales
- Photo with direct flash: white reflections and dull stones. Always diffuse the light.
- Too busy background: the jewelry gets lost. Prefer a minimalist background for the product page.
- Wrong display color: a black velvet with a silver piece creates too much contrast. Favor neutral shades.
- No tripod: 90% of blurry photos are caused by camera shake.
- Inconsistent catalog: different sizes, backgrounds, and lighting. Customers lose confidence.
- No macro: detail is what makes people buy. A close-up of the setting or engraving justifies the price.

How to successfully photograph jewelry by type
Each jewelry family presents its own challenge: a ring sparkles from every angle, a chain can become tangled, and a pair of earrings must remain symmetrical. Here are some guidelines for each, to be adapted to your equipment and displays.
| Jewelry | Recommended support | Starting angle | Pitfall to avoid |
|---|---|---|---|
| Ring | Velvet mini-cushion or conical support | Frontal macro | Reflections on polished metal |
| Necklace | Matte bust | 45° | Twisted chain, off-center pendant |
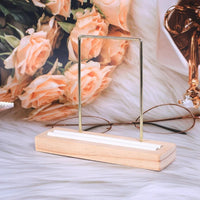
| Earrings | Frame or acrylic display | Front view, well aligned | Asymmetrical pair |
| Bracelet | Cylindrical bracelet holder | 45° | Squashed shape, visible clasp |
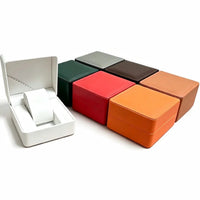
| Watch | Mini wrist bust or cushion | Front view, well-lit dial | Reflection on the glass |
Rings and wedding bands: taming reflections
Polished metal reflects everything around it. Keep dark objects out of the frame, diffuse the light, and tilt the ring slightly to move the reflection out of the frame. Focus on the main stone: that is what the eye looks for first.
Necklaces and sautoirs: properly positioning the chain
Close the clasp, adjust the chain so that it follows the bust without twisting, then center the pendant. A matte bust prevents unwanted reflections. For a sautoir, let the chain fall naturally and frame it widely enough to show its length.
Earrings, bracelets, and watches: symmetry and volume
For a pair of earrings, align both pieces at the same height and keep an even space between them. A bracelet holder gives bracelets volume, and a mini bust holds an open watch bracelet in place. Light the dial from the side to avoid glass reflections.

Photos adapted to the product page and the site
A beautiful shot is not enough: it must also display well on the product page, the home page, and social media. A few preparation habits prevent having to redo the work.
Consistent framing from one photo to the next
Keep the same format, square or portrait, for the entire catalog. Leave a little space around the jewelry: it allows you to reframe for a banner or social media visual without cutting off the piece. Consistent framing gives the store a polished look.
A well-chosen weight and file name
Export images large enough for zooming, but compressed so that the page loads quickly. Give each file a descriptive name, such as pearl-necklace-beige-bust, and provide alt text describing what is seen.
This is useful for search engines, and for people who use screen readers.
A visual for each use
The packshot on a neutral background goes on the product page and marketplaces. The lifestyle shot is used for the home page and newsletters. The macro and the worn view reassure the customer about the detail and the size.

Organizing a session for an entire catalog
Photographing fifty pieces of jewelry is nothing like photographing just one. Working by series, rather than piece by piece, saves valuable time and guarantees consistent images.
Prepare before shooting
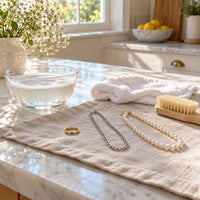
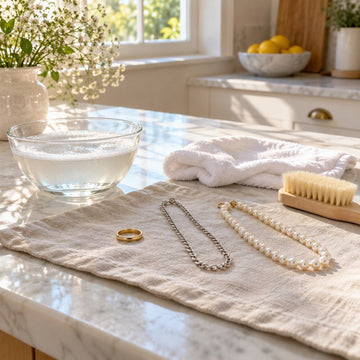
Clean each piece of jewelry with a microfiber cloth, check the clasps, and sort the pieces by family and by background. Wear thin gloves so as not to leave fingerprints on polished metal. A clean piece avoids long minutes of retouching.
Photographing in series
Set up the lighting and background once, then do not touch them again. Take all the packshots from the front, then all the 45° angles, then the macros. The settings remain identical from one piece to the next, which makes batch retouching possible.
Sort, name, save
- Copy the RAW files to a dedicated drive, then make a second backup.
- Sort and delete blurry or poorly framed images.
- Apply your retouching preset to the entire series.
- Export, then name each file with a descriptive name.

Our favorite displays for shooting
Four displays from the store are often found in photo sessions: a matte bust for necklaces, a light tray for flat lays, a ring holder, and cushions for bracelets.


Read also: create an elegant and consistent jewelry display, display your jewelry in photos on social media, and choose between a bust and a flat support for necklaces.
FAQ – Jewelry Photography
What camera to use for photographing jewelry?
An APS-C mirrorless camera with a 90 mm macro lens covers 95% of needs. A recent smartphone in pro mode is enough to start, provided you place it on a tripod and light the room well.
What lighting for jewelry photography?
Soft and directional light. Ideally two 5500 K LED panels diffused at 45°, or a window light softened by a white curtain.
How to avoid reflections on a ring or silver jewelry?
Diffuse the light source with a white cloth or a softbox, use a light tent for very shiny pieces, and tilt the jewelry slightly to direct the reflection out of the frame.
What background to use for photographing jewelry?
A plain light background (white, beige, pearl gray) for product pages; a textured background (linen, velvet, marble) for lifestyle visuals and social media.
Do you need a display to photograph your jewelry?
Yes, in the majority of cases. A bust, ring holder, or tray allows you to place the piece in the right position, save time in retouching, and instantly give a professional result.
How many photos to publish per jewelry on a product page?
Five visuals minimum: neutral background packshot, 45° view, macro detail, worn view, and lifestyle view. This is the format that maximizes conversion.
Should you photograph in RAW or JPEG?
RAW if possible. You keep all the retouching margin, especially for the white balance of metals and stones. JPEG remains acceptable for social media and quick rushes.
Get our next articles
Tips, guides and new arrivals, straight to your inbox.