
























Jewelry makers: build your booth for markets and trade shows
Enter the length of your table: you see your booth to scale, the weight to carry when it is listed, and the list of what you need. From your first market to the professional trade show.
- Booth calculator
- Designed for transport
- Quote on request
A booth that fits on the table and in the car
When you sell your own creations, the booth is your first showcase. It goes up in the morning and comes down at night, often alone, with a car or a bag. A display that is too big for the table, too heavy to carry or that gets scratched in the bag spoils the day. A successful booth therefore rests on three ideas.
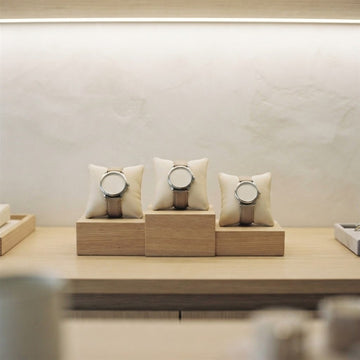
- Height : pieces on several levels so the eye moves around, without hiding the jewelry at the back.
- A consistent look : one material, one shade, so that it is your jewelry people look at.
- Easy transport : elements that pack flat or fit in a carrying case.
The booth calculator
Enter the number of tables, their dimensions, the free height above if it is limited, the space to set aside for the cash box or cards, then the types of jewelry you show. The tool arranges the stands in rows, the tallest at the back and the lowest in front, and gives you the list.
Build my booth
Top view, front view, remaining free space and list of items.
The tool rules out models that are deeper than the table or taller than the free space, and tells you why. It also calculates the total weight from the product pages that list it, stating how many pieces have no weight listed: you are never given an invented weight.
A starting point in two questions
If you do not know where to start, the quiz asks for the length of your table and the jewelry you show, then launches the calculator pre-filled.
Start my booth
Table length, types of jewelry: the calculator then starts.
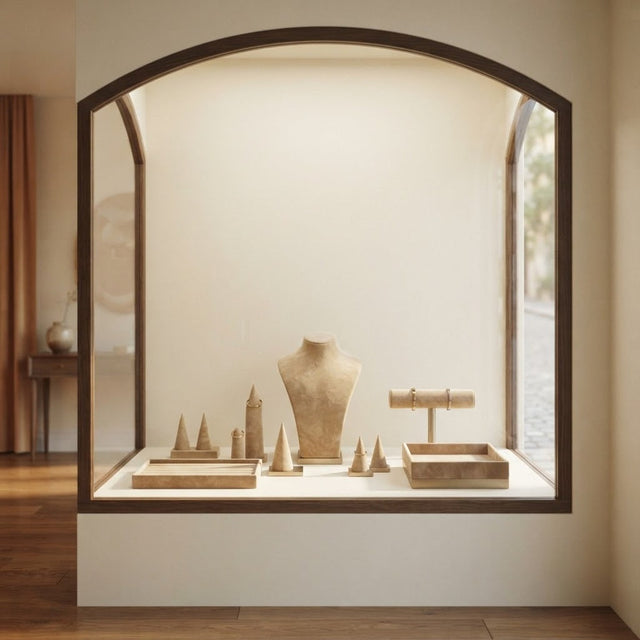
The elements of a maker's booth
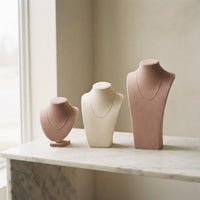
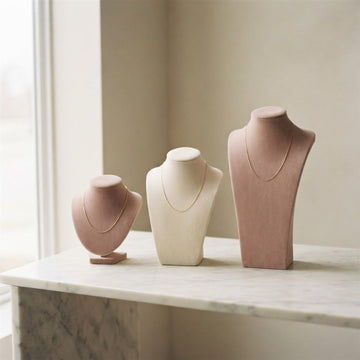
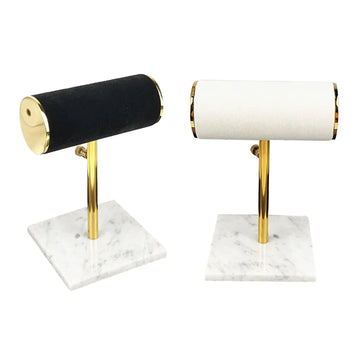
Busts
To put a necklace in context and add volume. See busts.
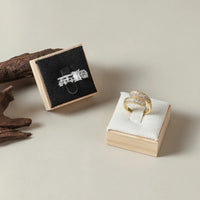
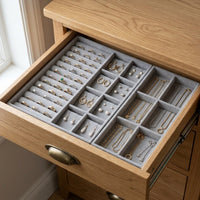
Trays
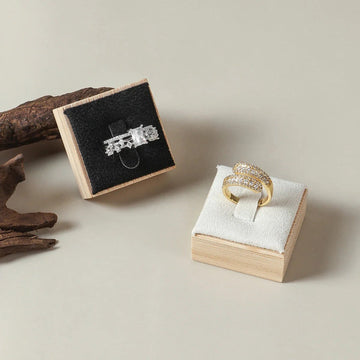
To lay out rings, bracelets and pendants in rows. See trays.
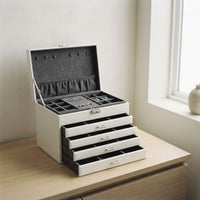
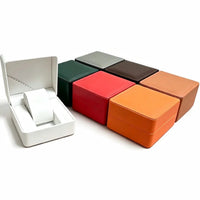
Carrying cases
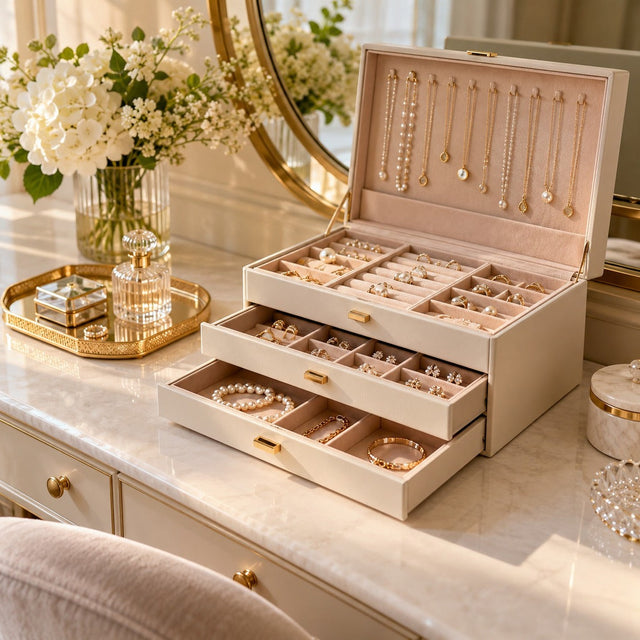
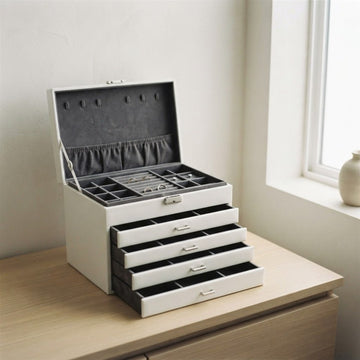
They protect your pieces and double as storage between two markets. See carrying cases.
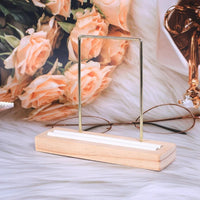
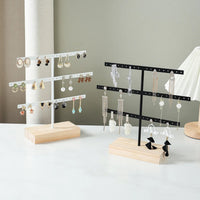
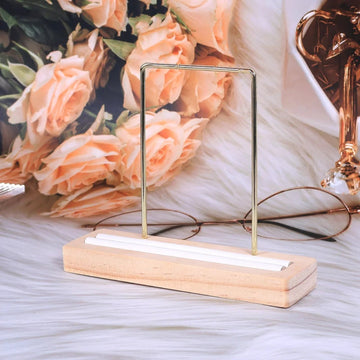
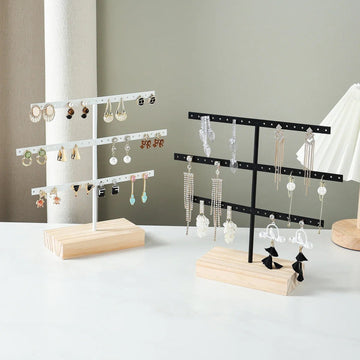
Wooden displays
A warm material that goes well with natural creations. See wooden displays.
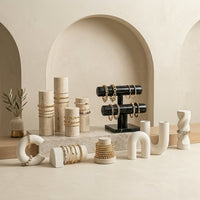
Rotating displays
To show many pieces in a small width. See rotating displays.
Three ways to build a booth
Depending on the space and the range you show, three approaches stand out. The calculator works them out from the table you entered.
| Approach | Principle | Who is it for? |
|---|---|---|
| One type only | The whole table for one type of jewelry, on several heights | A specialist maker: rings, or necklaces |
| Two types | The table shared equally between two families | A short range, a simple booth |
| Complete booth | All types, in rows that complement each other | A trade show, a wider range |
Quantities are not set in advance: they follow from the space available on your table.
Staging, photos and online sales
A well-presented booth is easier to photograph, and the same stands work for your online shop. Choose neutral backgrounds and soft light, and keep the same material from one shot to the next. Our guides explain the method: How to photograph jewelry well and How to display your jewelry for Instagram photos.
Before your first trade show, read How to build a jewelry booth that attracts customers, The 5 mistakes to avoid when displaying your jewelry at a market or trade show and Setting up a jewelry booth for a professional trade show.
Your first market: the checklist to prepare
A first market or first trade show always raises the same worries: will I be able to set everything up, carry everything, pack everything away? Here is how to prepare calmly.
- Measure the table provided and note its length, depth and the space for the cash box.
- List the families of jewelry you show: necklaces, rings, earrings, bracelets.
- Choose one material and one shade for the stands, and stick to it.
- Build the booth with the calculator, then check the weight of the pieces that list it.
- Plan a carrying case for fragile pieces and small stands.
- Do a dry run at home, taking the time it needs.
- Photograph the booth for your social networks, before opening.
The dry run is the step people skip most often, and the one that reassures most: you find out what is missing before you are on site.
Height, depth, eye line: the three rules of a readable booth
Stagger the heights
The tallest pieces go at the back, the lowest in front: nothing hides anything. Busts and tiered displays add relief without taking up room.
Respect the depth of the table
A stand deeper than the table sticks out and tips over easily. The calculator rules out these models and tells you why.
Let it breathe
A booth that is too crowded tires the eye. Better to have fewer, well-spaced pieces, and a rotation during the day.
The guide Setting up a professional jewelry booth explains these principles for a larger trade show.
A selection for a first booth
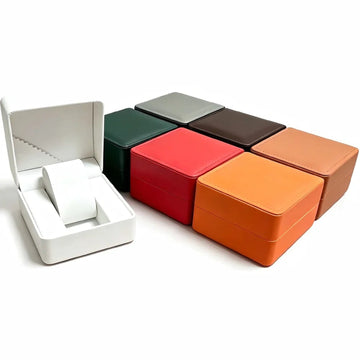
 Hard Shell Plastic Jewelry Case, 5 to 10 Compartments
 Brown Leather Jewelry Travel Case
 Rotating Wooden Display, 3 Tiers, Necklace and Bracelet
 Wooden Bracelet Display, 3 Tiers
 Wooden Jewelry Tray, Triangle, 2 Levels
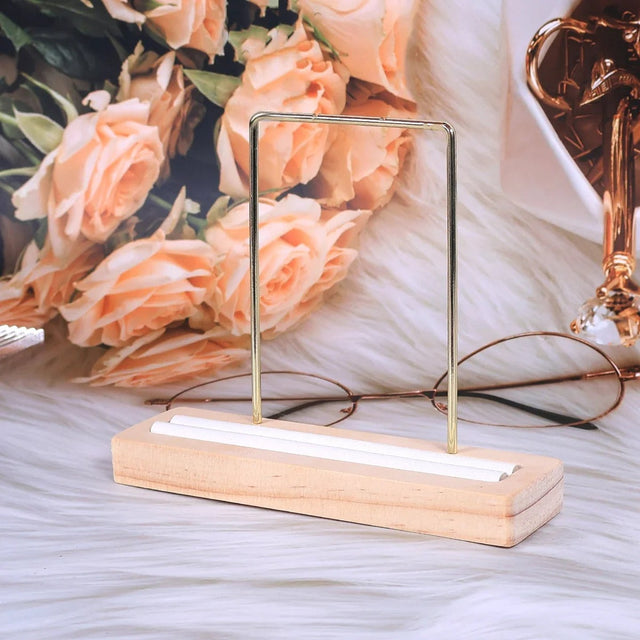
 Wooden Fashion Necklace Display
 Wooden Velvet Ring Display Tray
Want to test before ordering in bulk? Take a single piece of a model, then add the rest once the table is set up.
Equipping several booths or a trade show
For a bulk quantity or a larger project, go through the professional quote page: copy the calculator's list into your message, and the reply arrives within 48 business hours. Equipping a permanent point of sale? The jewelry store and shop section is meant for you.
Frequently asked questions
What size display do I need for my table?
Enter your table dimensions in the calculator: it rules out models that are too deep or too tall and arranges the others in rows.
How do I transport my booth?
Choose elements that pack flat or fit in a carrying case. The calculator adds up the weight of the pieces whose product page gives it, and tells you how many have no weight listed.
Do the shades suit photos?
A single material and a single shade give more consistent photos. Neutral backgrounds and soft light do the rest: see our guides on jewelry photography.
Can I buy a single piece to test?
Yes, every product can be ordered individually. For a bulk quantity, go through the quote.
Is there a professional price?
For a bulk quantity, request a quote on the dedicated page: we reply within 48 business hours.
Set up your table
Enter the length of your table, build your booth, then order by the piece or request a quote. Reply within 48 business hours.
See traysRequest a quote