

























How to set up a professional jewelry stand?
Why a well-organized jewelry stand makes the difference
A professional jewelry stand cannot be improvised. Between the day before the trade show and the opening of the doors, dozens of micro-decisions will determine whether your table becomes a focal point for visitors or a simple backdrop they pass by.
Heights, visual flow, choice of displays, lighting, signage, sales ergonomics: every detail counts because a trade show visitor decides in under three seconds whether to stop or not. This guide will walk you through it step by step, from the table layout to the checkout, to build a display that sells, is memorable, and can be reused from one event to the next.
Whether you are an independent designer, a young brand, or an established jeweler, you will leave with a clear method and precise equipment choices.

Planning a stand layout first and foremost

Before touching a single piece, draw your stand from above. This step, neglected by 80% of first-time exhibitors, saves two hours of setup and prevents proportion errors.
Note the exact dimensions of your space (often 2 m x 1 m for a half-stand, 2 m x 2 m for a full stand) and first place the "technical" areas: your stool, your cash register, your back stock, your tote bags. The negative space of the stand then dictates the sales area.
Next, identify where the main flow of visitors will come from. At a trade show with double aisles, there is almost always a dominant direction. The most impressive piece in your collection—the one you want people to see from afar—should be placed at a 45° angle facing this flow, not directly opposite it.
This is the angle that creates the "visual pivot," that slight involuntary head movement that slows down passersby.
The rule of three visual planes
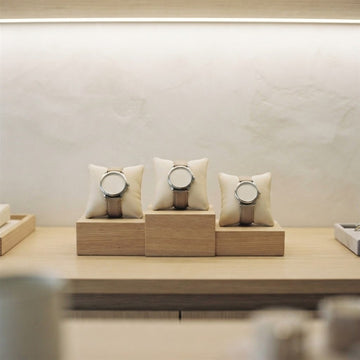
Every high-performing jewelry stand consists of three planes: the top plane (signage, banner, spectacular element), the middle plane (busts, vertical supports), and the bottom plane (trays, labels, mirrors). These three planes must interact with each other. If all your elements are at the same height, your stand becomes a flat, monotonous line that does not catch the eye.
Creating three zones: attraction, exploration, finalization
A stand that converts is one designed as a three-stage journey. The attraction zone is the part visible from afar; it draws people in; the exploration zone is where the customer touches, handles, and tries on pieces; the finalization zone is the space where the purchase is completed. Mixing these three zones is the leading cause of a confusing stand.
The attraction zone occupies the central third of the back or a strategic corner: this is where you display signature pieces, new arrivals, and bright colors. This zone should be uncluttered, almost theatrical. The exploration zone takes up the sides and the front: it offers a variety of accessible pieces, organized by collection or material.
The finalization zone, finally, brings together the cash register, pouches, business cards, and mini gift packaging, ideally on one side so as not to block traffic.
Why structuring this journey is profitable
A visitor who instinctively knows where to look, touch, and pay stays longer. And a visitor who stays longer buys more: this is statistically true in all physical retail. A well-zoned stand can increase the average basket size by 15 to 30% compared to a stand where everything overlaps.
Equip your stand with equipment designed for sales
Our catalog includes all the complete jewelry displays you need to build a cohesive stand: busts, trays, ring and bracelet supports, and earring towers.
View the collectionChoosing the right displays for each jewelry family
Each jewelry family has its own presentation requirements. A necklace must hang freely to reveal its shape; a ring must be seen from the front and side; an earring must show movement and length; a bracelet must maintain its volume without flattening.
Choosing a display means choosing the angle from which the customer will evaluate your jewelry.
For necklaces
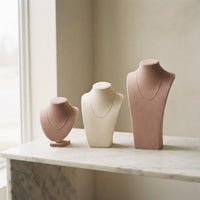
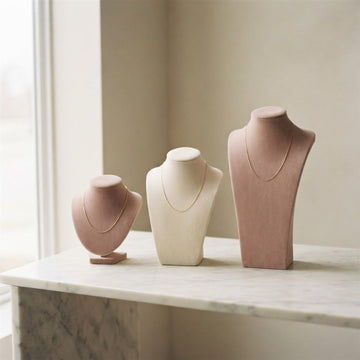
Necklace supports are the centerpiece of any jewelry stand. The classic velvet or faux suede bust remains unbeatable for short chains and chokers. For long necklaces, prefer a tall bust or a table mannequin.
Vary the colors and heights: alternating two or three busts of different sizes immediately creates visual rhythm.
For rings

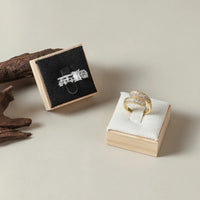
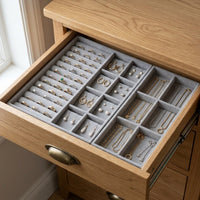
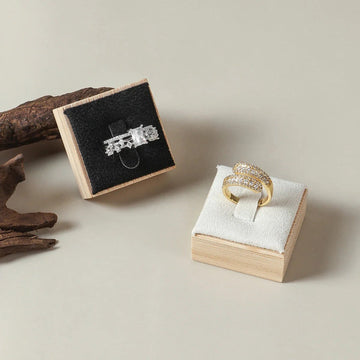
Ring displays come in several formats: angled bars, slotted trays, stackable cones, and stylized hands. For a stand, the slotted foam tray remains the most effective: it allows you to align six to twelve pieces in a readable and orderly manner, while making trying them on easier.
For bracelets
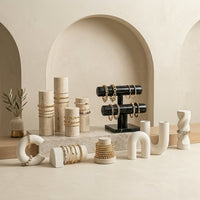
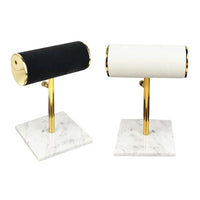
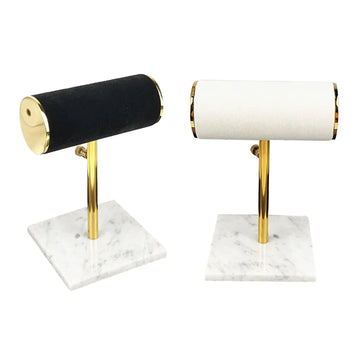
A bracelet laid flat loses 70% of its impact. Use cylindrical bracelet holders or wooden tubes covered in fabric: they restore the volume of the wrist and allow the customer to visualize how it looks when worn.
For earrings
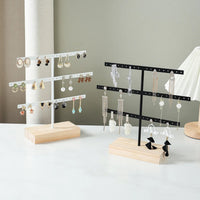
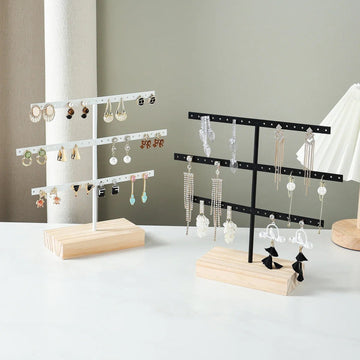
Acrylic or wooden vertical supports with small holes or hooks are perfect for showing a pair from the front. For hoops or long pendants, prefer linen or faux suede panels on which the pairs stand out visually.
For precious pieces
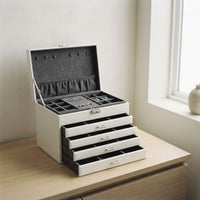
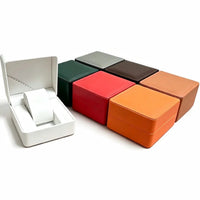
Closed trays or acrylic mini-display cases with lids are ideal for higher-value pieces. They protect, secure, and paradoxically create more desire because they signal rarity.
Mastering lighting to make pieces shine

Lighting is what most exhibitors underestimate and the best master. At a trade show, ambient light is rarely flattering: yellow fluorescents, diffused halogens, or worse, backlighting from large windows. Bringing your own lighting is non-negotiable for a professional stand.
Prefer neutral white LED bars (4000 to 4500 K), powerful enough (1000 to 1500 combined lumens for a 2 m stand), ideally with the ability to adjust the intensity. Place them with grazing illumination, at a 30 to 45° angle above your pieces, never vertically, which flattens the relief.
A well-oriented LED can transform ordinary silver jewelry into a piece that seems to shine from within.
The trap of lights that are too warm
A 2700 K light (warm yellow light) yellows silver, dulls platinum, and distorts blue stones. Conversely, a 6500 K light (cool bluish light) makes gold look dull and gives the stand a clinical tone. Neutral 4000 K is the perfect balance for most jewelry.
Establishing brand identity on the stand
At a trade show, you are competing with dozens or even hundreds of other stands. Your brand must be identifiable in under five seconds, even from afar.
This comes down to three elements: the logo displayed at height, a consistent color palette across the entire stand (displays, tablecloth, signage), and a distinctive element that sticks in the mind (a particular material, a pattern, a signature display).
Also think about the consistency between your stand and your online presence. A customer who discovers your brand at a trade show will later search for you on Instagram or Google; if the aesthetics do not match, you lose the connection.
Prepare a business card or a QR code leading directly to your online store or your Instagram, placed near the flagship pieces.
Small details that make a great brand
A printed price tag rather than a handwritten one, tissue paper in the brand's colors for wrapping, a personalized kraft bag, a thank-you card slipped into every purchase: these final touches cost little and create an experience that people are happy to share in photos on social media.
It is this level of care that takes a stand from amateur to professional.
Bring your signature stand to life
Select your trays, busts, bracelet holders, and ring supports in materials and colors consistent with your brand universe.
View the display trays
Optimizing the sales area and customer experience

Selling at a trade show also means selling quickly and efficiently. The checkout area should be designed to streamline the moment of purchase.
Plan for a charged and connected payment terminal, a small dedicated space for packaging with scissors, tape, tissue paper, and an immediate stock of your bestsellers so you never have to say "I'm out."
In terms of customer ergonomics, a vertical mirror placed on the table changes everything. A customer trying on a necklace without being able to see themselves almost never buys. A well-lit mirror doubles or triples the conversion rate on pieces that are worn.
Preparing the conversation and posture
Stay standing or perched on a high stool, never slumped behind the table: it is a signal of engagement that reassures. Prepare two or three opening phrases that create dialogue without pressure: "This collection is inspired by...", "All my pieces are handmade in...". Storytelling sells as much as the object.
The essential kit to take to every trade show
To never forget the essentials again, keep a dedicated box ready at all times. Here is the typical list:
- Solid-colored tablecloth (and a travel iron).
- 4 to 8 varied displays covering each jewelry family.
- Standalone mini LED lighting with spare batteries.
- Blank price tags and pre-printed ready-to-use labels.
- Hand mirror, vertical mirror, microfiber cloth.
- Charged payment terminal + charger.
- Business card, brand QR code, banner or logo sign.
- Packaging pouches, tissue paper, ribbon, brand tote bags.
- Back stock in a case or drawer with a visual inventory.
- Jewelry first aid kit: pliers, broken rings, replacement clasps.

Costume jewelry or high-end jewelry stand: adapting the display
A professional jewelry stand is not composed the same way depending on the range presented. The choice of supports, colors, and density follows the positioning, never the other way around.
Costume jewelry: color and choice
Costume pieces love abundance, provided it is organized. Group them in micro-zones by color or theme, and let the customer handle them. A light wood or linen support keeps the whole thing warm.
High-end: space and material
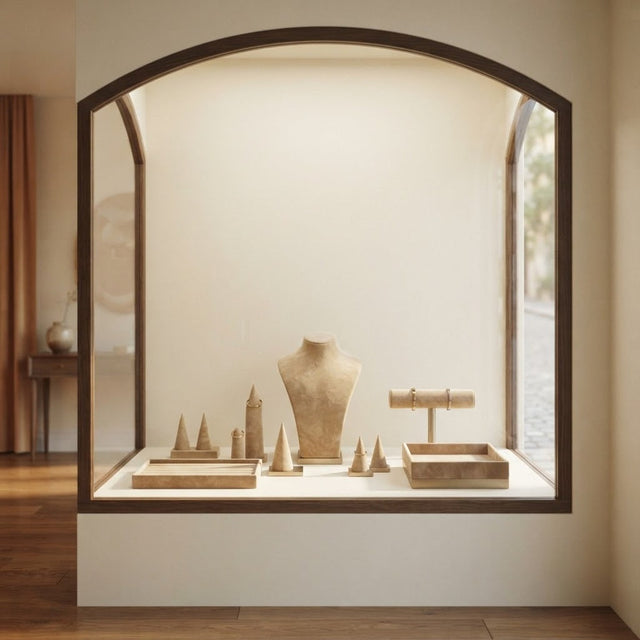
Fewer pieces, more space. A velvet bust, a faux suede tray, and deliberate negative space around each piece of jewelry create a sense of rarity. Keep the rest of your stock safely under the table.
| Criteria | Fashion jewelry | High-end |
|---|---|---|
| Density | Generous, by micro-zones | Reduced, with lots of negative space |
| Colors | Varied and bright | Subdued, on a solid background |
| Supports | Light wood, linen, colorful busts | Velvet, faux suede, acrylic |
| Trying on | Free, mirror within reach | Piece by piece, on request |

Preparing your stand the day before: a test setup and a fixed order
The best setup is the one you have already done once. The day before, a trial at home is a great alternative to improvising under the gaze of neighboring exhibitors.
The day before: test and count
Set up the table and displays in your living room, place a few pieces, and take a photo. Then count the jewelry in each scene and check the LED batteries and the charge of the payment terminal.
The morning: set up in order
- Tablecloth and table, visitor side clear.
- Empty displays, from tallest to shortest.
- Lighting, then jewelry.
- Labels, signage, and cash register.
Before opening: the visual check
Step back into the aisle and look at your stand like a passerby. If the eye doesn't know where to rest, the focal area is not clear enough: remove a piece or move it.

Welcoming the flow of visitors and protecting valuable pieces
A stand that works attracts people, and you need to know how to welcome them. Anticipate busy times and always keep an eye on valuable pieces.
Welcoming without blocking the aisle
Leave an empty space in front of the table so that two or three people can look at the same time. Store bags and boxes behind you, never at the front. A visitor who feels comfortable stays longer.
Monitoring precious pieces
Display valuable pieces in closed trays or on request, facing you. If you need to step away, cover the table with a clean cloth or store the pieces in the case.
| Moment | The right reflex |
|---|---|
| Opening | Clear table, featured pieces at the front |
| Crowds | Empty space in front, cash register to the side |
| Break | Precious pieces stored away or covered |
| Closing | Counting and restocking before dismantling |
After the event: dismantle, review, and reuse your kit
The trade show doesn't end at closing. A careful dismantling prepares for the next event and protects your equipment.
Dismantle in reverse order
First remove the jewelry, then the labels, then the displays. Wipe the supports with a microfiber cloth before storing them: this keeps the velvet and faux suede looking their best.
Review when things have settled
That same evening, write down what caught people's attention, what was problematic, and what was missing. Compare it with the photo taken before opening. These few lines are worth a lot for improving the next stand.

Our favorites for equipping your stand
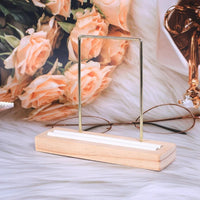
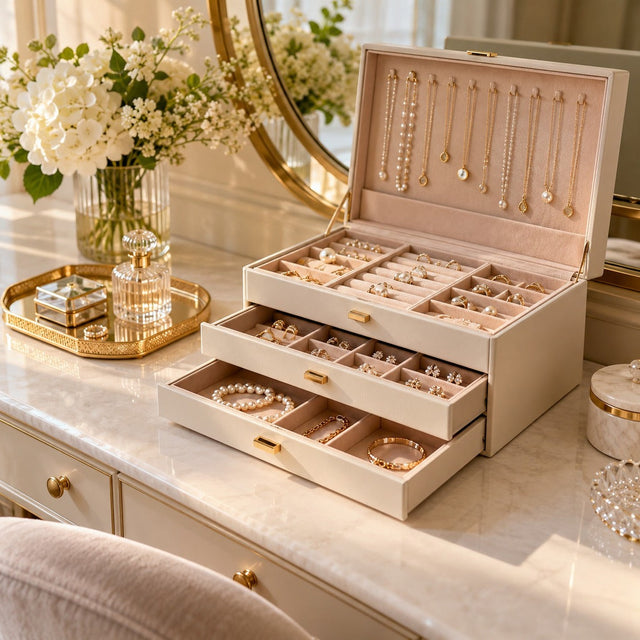
Four references cover the needs of a complete stand: the bust for necklaces, the tray for rings, the wooden bracelet holder, and the earring display.


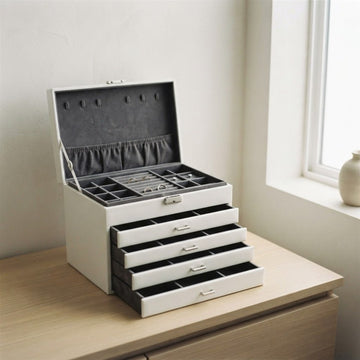
To learn more, browse the jewelry bust and jewelry case collections.
Conclusion: make your stand a signature experience
Organizing a professional jewelry stand means designing a mobile mini-boutique. Every square centimeter must play a role in attracting, exploring, and finalizing the sale.
Investing in consistent displays, taking care with lighting, structuring a customer journey, and asserting a brand identity does not require a huge budget: these are methodical choices that pay off in just a few events. Once your kit is assembled, you set up and dismantle your stand in less than an hour, anywhere in France, with the same quality of presentation.
Build your professional stand now
From the necklace bust to the bracelet holder, via the velvet trays and ring supports, find all the necessary equipment to shine at your next trade shows.
View ring displays
To learn more: How to make a jewelry stand that attracts customers?, Optimizing boutique space: space-saving displays, Personalized displays: enhance your jewelry brand, What is the best ring display if you have little space? and Organizing your rings: trays, cones, and cases.
FAQ — Professional jewelry stand
How long does it take to set up a complete jewelry stand?
With a ready kit and a validated plan, allow 45 to 75 minutes for a 2 m x 2 m stand. Without a prior plan and without organized equipment, this time can easily double. The consistency of a dedicated kit makes all the difference.
Should you favor a minimalist or generous stand?
Minimalism almost always wins for high-end. A generous stand can work for fashion or colorful collections, but only if it is structured by thematic micro-zones. The worst is a confusing middle ground.
What type of table to choose for a jewelry stand?
A standard folding table of 1.80 m x 0.75 m covers 80% of cases. If the organizer does not provide anything, opt for a reinforced table capable of supporting 30 to 50 kg without sagging. Always cover it with a tablecloth hanging to the floor on the visitor side to hide the stock.
How much does the complete setup of a professional jewelry stand cost?
For a durable professional kit, plan between €250 and €600. This includes various displays, lighting, basic signage, mirrors, and packaging supplies. It is an investment that pays off over 3 to 5 events depending on your average price.
How to animate your stand to attract more visitors?
A live demonstration (assembling a piece, engraving, polishing) systematically attracts a crowd. An express workshop, a surprise tasting, or a "new arrivals" display updated in real time are also very effective. Animation creates the event within the event.
Are acrylic displays professional?
Yes, provided they are thick, perfectly transparent, and without scratches. Premium acrylic remains a high-end standard: it disappears visually and leaves all the room for the jewelry. Avoid the cheapest references that yellow quickly.
How to manage restocking without breaking the staging?
Prepare in advance photo sheets of each setup and store your spare pieces in a case with numbered compartments. Restocking becomes mechanical: you remove the sold piece, take the next one with the same number, and put it back exactly in the same position.
What stand size to plan for displaying jewelry?
A half-stand of 2 m x 1 m is enough for a compact collection. A full stand of 2 m x 2 m allows you to build the three zones, attraction, exploration, and finalization, without mixing them.
How to present a fashion jewelry stand?
Group the pieces in micro-zones by color or theme, vary the heights, and let the customers handle them. A mirror within reach increases trying on.
Should you choose wooden or metal displays?
Light wood brings warmth to fashion jewelry and artisanal creations; matte metal and velvet are suitable for fine pieces. The essential thing is to keep a consistent material throughout the stand.
How to arrange your jewelry on a market stand?
Think in three levels: the top level for signage, the middle level for busts and vertical supports, the bottom level for trays and mirrors.
How to protect your jewelry during transport?
Store each micro-scene in a dedicated compartment, wedge the fine pieces with tissue paper, and keep the trays flat. A compartment case prevents shocks.
Get our next articles
Tips, guides and new arrivals, straight to your inbox.