

























The 5 mistakes to avoid when displaying your jewelry at a market or trade show
Why take care with how you display your jewelry at a market or trade show
You have prepared your most beautiful pieces, chosen your outfit, reserved your spot… and yet, the flow of visitors stops for a second in front of your stand before continuing on its way. Almost every independent designer and jeweler has experienced this scene at least once.
The truth is that a market or trade show does not reward the raw quality of the jewelry, but the clarity of the presentation. A customer must understand your brand in less than three seconds, feel an aesthetic impact, and then enter an irresistible tactile experience.
In this guide, we break down the five most common mistakes when displaying your jewelry at a market or trade show, and above all, we give you concrete solutions—display choices, heights, lighting, visual flow—to transform your next event into a real sales opportunity.

Mistake no. 1: cramming jewelry onto the table
The designer's instinct is understandable: you want to show everything to give the impression of a wide selection. The result, however, is the opposite. A cluttered table creates a visual load that dilutes each piece, erases the highlights, and prevents the customer from envisioning themselves wearing it.
At a market, the eye decides in less than two seconds: if nothing stands out, the visitor keeps walking.
The rule most used by experienced exhibitors is the 60/40 rule: 60% of the surface left empty or uncluttered, 40% occupied by jewelry and its displays. This empty space is not a waste of space; it is what gives value to what is displayed.
Work with small thematic micro-scenes of three to five pieces (by material, by color, by collection) and regularly rotate the less visible jewelry throughout the day to refresh the displays.
How to reorganize an overcrowded table
Start by removing everything. First, place the displays, create areas of different heights, then add the jewelry one by one, never all at once. A customer should be able to focus on a piece at a glance and pick it up without interfering with the others.
If you have a large stock, keep most of it in a case or drawer and display your bestsellers at the front.

Mistake no. 2: neglecting height and visual depth

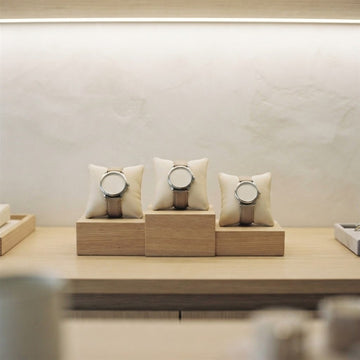
A flat table is a dead table. Without relief, the eye glides over it and never stops. The best jewelry stands look like a small landscape: there are peaks, plateaus, and hollows.
This three-dimensional presentation naturally creates a visual path, holds the visitor's attention, and gives each piece a role in the composition.
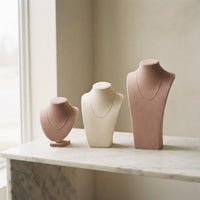
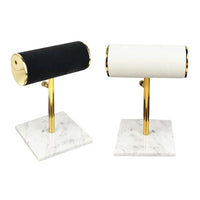
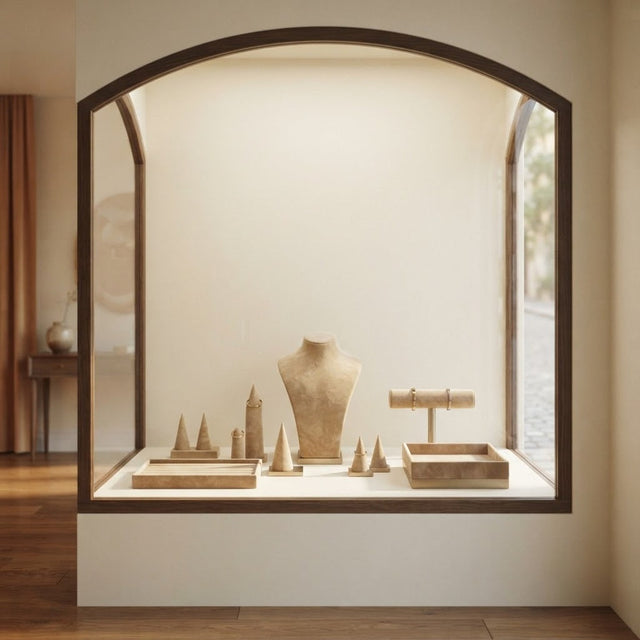
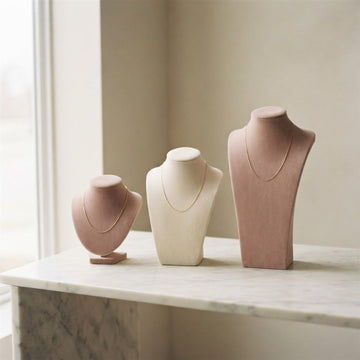
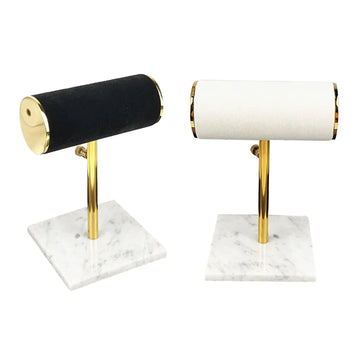
To structure the depth, think in three levels. At the back, the tallest elements: necklace busts, table mannequins, and vertical supports for sautoirs and long chains. In the middle, the intermediate heights: cylindrical bracelet holders, ring towers, and angled earring displays.
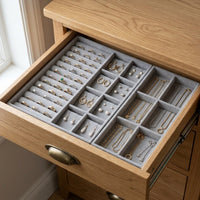
At the front, the low and visible elements: presentation trays flush with the table in velvet, faux suede, or linen, perfect for displaying small pieces that the customer can pick up effortlessly.
The secret of window designers
Vary the volumes as well: a round bust coexists better with a geometric wooden or metal display. This contrast of shapes creates a visual rhythm that holds attention much longer than a perfect alignment. If your table is 1.80 m long, plan for at least four different height levels.
Prepare a stand that turns glances into sales
Discover our selection of professional jewelry displays designed for craft markets, trade shows, and pop-up shops: busts, trays, ring holders, bracelet holders, and modular solutions.
View the collectionMistake no. 3: choosing displays that "crush" your pieces

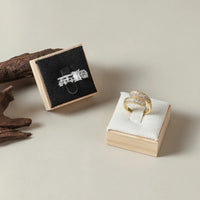
A display is never neutral. It interacts with the jewelry, either by enhancing it or contradicting it. A delicate ring placed on an XXL acrylic cube will look lost. An ethnic necklace on a white lacquered bust that is too minimalist will lose its depth. Conversely, a yellow gold set on matte black velvet instantly takes on a high-end dimension.
The visual rule is simple: delicacy calls for delicacy, character calls for material. For fine jewelry, gold, silver, or pearl pieces, favor velvet, faux suede, or matte metal supports. For more rustic pieces (leather, semi-precious stones, artisanal creations), turn to light wood, stone, linen, or polished concrete.
Material consistency is what distinguishes a professional stand from an amateur one.
Rings, necklaces, bracelets: a support for every piece of jewelry
Ring holders should allow you to see the shoulder, the stone, and the profile of the ring without handling it. Necklaces require a free fall—that is, they must hang naturally without folds or overlapping. Bracelets, on the other hand, benefit from being presented on cylinders or vertical tubes that give them volume.
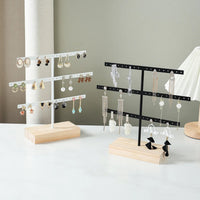
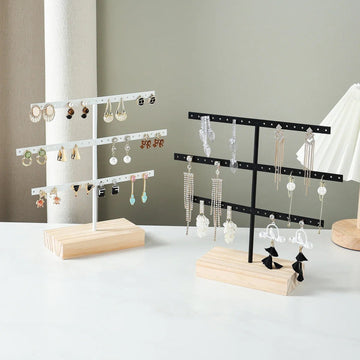
As for earring holders, be sure to choose a format that shows the pair from the front and profile to reveal the movement of the jewelry.
Mistake no. 4: forgetting lighting and the background

Lighting is the invisible ingredient that makes the difference between a stand that "shines" and a stand that blends into the shadows. Market organizers for covered markets or trade shows rarely provide flattering lighting for jewelry: it is often yellow, flat, or pointed in the wrong direction.
Investing in two to four small standalone LED bars (battery-powered or USB) in neutral white light (4000K) radically changes the perception of metal and stones.
Position your LEDs for grazing light, slightly at an angle, never directly overhead. This is the angle that reveals facets, makes stones sparkle, and brings relief to engravings. Avoid light that is too warm (yellowish), which dulls silver, and light that is too cold (bluish), which makes gold look dull.
The background, the detail that changes everything
The background of a stand is as important as the table itself. A customer often takes a photo of a piece before buying; if the background is a party hall wall or a wrinkled sheet, your jewelry will immediately lose perceived value.
A simple solid-colored stretched canvas, a raw wood panel, a woven frame, or a brand banner solves everything. Choose a background that contrasts enough with the majority of your pieces without competing with them in color.
Mistake no. 5: overlooking price and brand visibility

Many visitors do not dare to ask for a price. If they do not see it, they keep walking. At a market or trade show, the absence of legible price tags can cause your turnover to drop by 20 to 40%. The price must be present, readable from 30 cm away without leaning over, but without shouting either.
Small neutral tags, a sober font, a color in harmony with your brand: everything must breathe care.
The brand, on the other hand, must be immediately visible. Logo, name, tagline at height (kakemono, plaque, cut-out wooden lettering): the customer must be able to identify you without having to ask, and above all, remember your name to find you online.
Also prepare a small business card or a QR code pointing to your social media and online store, placed near the flagship pieces.
Give every piece of jewelry the stage it deserves
Busts, trays, ring holders, or bracelet holders: explore our displays specially designed for markets and professional trade shows, durable, lightweight, and aesthetic.
Discover necklace bustsChecklist: your stand ready in 30 minutes
To prepare a stand effectively, follow this setup order proven by seasoned exhibitors:
- Solid-colored tablecloth or table runner, ironed, hanging down to the floor on the visitor side.
- Height plan: first arrange the empty displays to validate the visual rhythm.
- Presentation by collection or by material, never completely mixed.
- Discreet but legible price tags, aligned the same way everywhere.
- Neutral LED lighting angled, never directly overhead.
- Brand and business card visible at eye level.
- Hand mirror and microfiber cloth within reach for trying on.
- Back stock organized by reference to replenish without breaking the presentation.
Summary table of mistakes and solutions
| Mistake | Effect on the customer | Quick solution |
|---|---|---|
| Overcrowded stand | Visual load, customer walks away | 60/40 rule, micro-scenes |
| Flat table | No visual stops | At least 3 height levels |
| Wrong displays | Jewelry crushed or lost | Match the material to the jewelry |
| Yellow or flat light | Dull metal, dull stones | 4000K LED grazing light |
| Invisible prices | No impulse purchase | Sober tags, visible brand |
How to display your jewelry at a market: the three-step table plan
To display your jewelry at a market without stress, always work in the same order: measure, set up from the back to the front, then step back to judge the overall look. This order avoids undoing what you have just placed.
Measure the space before loading the car
Note the width and depth of your space, then draw a rectangle of the same size on the floor at home. Place your empty displays in it: you will immediately know what fits and what stays in the case.
Set up from the back to the front
- Spread the tablecloth, which must hang down to the floor on the visitor side.
- Install the tall elements at the back: busts and vertical supports.
- Add the intermediate heights, then the low trays at the front.
- Place the jewelry last, one by one.
- Attach the tags and brand signage.
Step back three paces before opening
Stand where the visitor will pass and look at your stand with squinted eyes. An empty or overcrowded area will then jump out at you: fix it. Also take a photo, it will serve as a model for the next event.

Outdoor market or indoor trade show: what changes for your stand
The same stand is not set up the same way outdoors and indoors. Outdoors, the weather calls the shots; at a trade show, it's the lighting and the neighbors. The table summarizes the points to check.
| Point to check | Outdoor market | Indoor trade show |
|---|---|---|
| Wind | Secure light displays | Drafts near doors |
| Light | Changing sun: shade the table | Fixed lighting: bring your own LEDs |
| Foot traffic | Steady flow of passersby | Aisles with a dominant direction |
| Protection | Parasol or awning, long tablecloth | Nothing to plan for rain |
Wind, sun and rain: protect the pieces
Outdoors, a light display can tip over easily. Choose heavy bases or discreetly weight them down under the tablecloth. A parasol prevents bothersome reflections on metals and protects velvet supports from moisture.
Trade show: light, foot traffic and neighbors
At a trade show, you choose neither the lighting nor the location. Bring your own LEDs and observe the flow of traffic from the moment you open. If your neighbor is displaying very colorful pieces, a plain and understated background helps your jewelry remain visible.

Displaying bracelets, rings and earrings: the supports to choose
Each family of jewelry calls for a specific support. At a market, three types of supports are enough to display almost an entire collection.
Bracelets: give them volume
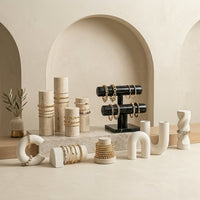
A bracelet laid flat is hard to see. A cylinder, tube or bracelet display with steps gives it back its wrist shape and allows you to show several without overlapping them.
Rings: alternate heights
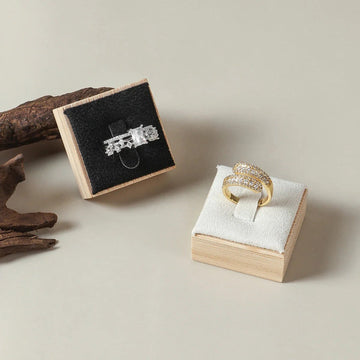
A cone or slotted tray ring display shows the band from the front and profile. Alternate supports of different sizes to create a little relief.
Earrings: show the whole pair
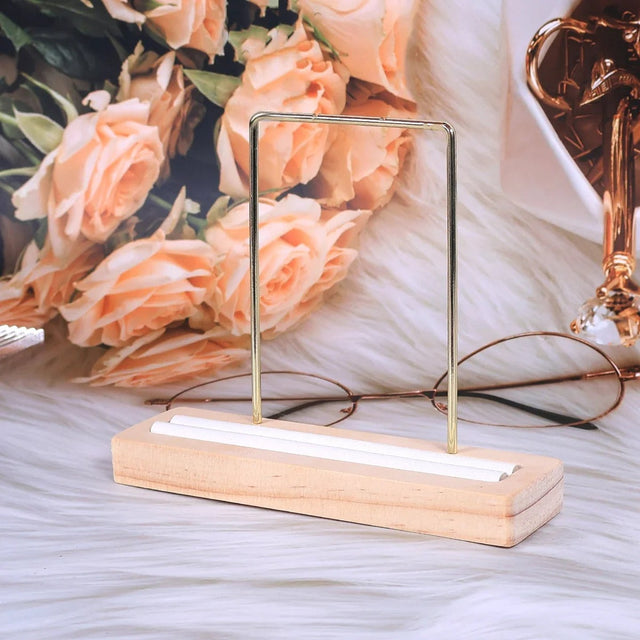
A frame, panel or tiered earring display keeps the pair aligned. The customer compares the shape, length and movement at a single glance.

Transport, setup and teardown: keep your stand tidy
A stand is also won before and after the event. Well-thought-out transport prevents damaged jewelry and scratched displays, and shortens setup.
Organize by scene rather than by type
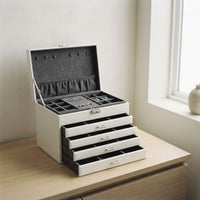
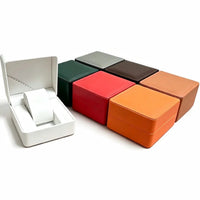
Store each micro-scene in the same compartment: the bust, its jewelry and its label travel together. During setup, you reconstruct the scene in a few gestures. A compartmented jewelry case protects the finest pieces.
Plan a small emergency kit
Slip into it double-sided tape, pliers, replacement clasps, a microfiber cloth and spare batteries for the LED. Nothing exceptional, but a forgotten detail should never ruin a day of sales.

Our favorites for setting up a market stand
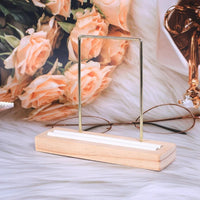
Four references cover the major jewelry families: the bust for necklaces, the tray for small pieces, the cone for bracelets and the frame for earrings.


To browse the entire range, open the jewelry tray and jewelry bust collections.
Conclusion: make your stand your best salesperson
A jewelry market or trade show is not just a table: it's a mini-display that must tell your story in a few seconds. Avoiding these five mistakes mechanically multiplies your chances of turning a visitor into a customer, a customer into an ambassador.
The good news is that none of these solutions are expensive — they are all a matter of organization and choosing the right equipment. By investing once in consistent and durable displays, you create a sales kit that you will reuse event after event, and that will very quickly pay off your investment.
Set up your ideal stand today
Our entire selection of trays, busts, supports and jewelry holders designed for creators and merchants on the move, delivered quickly.
View presentation trays
To go further: How to make a jewelry stand that attracts customers? and What mistakes to avoid when displaying jewelry?.
FAQ — Jewelry stands at markets and trade shows
What budget to plan for a first complete jewelry stand?
Count between €150 and €400 for a professional and durable kit: quality tablecloth, 4 to 6 varied displays (bust, tray, ring support, bracelet holder, earring holder), a mini LED lighting and brand signage. This investment is generally amortized from the first two events.
How many pieces should be displayed on a market stand?
The ideal density is around 30 to 60 visible pieces depending on the size of the table (1.20 m to 1.80 m). Beyond that, you lose readability. Keep rather a back stock ready to be renewed between two customers.
How to prevent theft on a jewelry stand?
Prefer displays that do not tip over easily, keep your most precious pieces in locked trays or presented one by one on demand, and place your best sellers facing you. A good professional insurance and a secure cash box within reach do the rest.
Should you plan mirrors on a jewelry stand?
Absolutely. A hand mirror and ideally a small vertical mirror significantly increase the try-on rate, and therefore the conversion rate. A tried jewelry is a half-sold jewelry.
What color tablecloth to choose to highlight jewelry?
For gold, opt for a matte black, a deep burgundy or a forest green. For silver, a sand beige, an slate gray or a midnight blue work wonderfully. Colored pieces match well with an ecru linen or an off-white that does not compete with any shade.
How to stand out among many jewelry exhibitors?
Work on your visual identity (logo, palette, materials of the displays) until you are recognized from afar. A recognizable stand is remembered and shared on social networks, where your colleagues remain anonymous.
Is it essential to have a payment terminal at a market?
Yes, it has become a standard. A large part of impulsive jewelry purchases exceeds €30 and is done by card. Refusing the credit card, it's refusing about a third of the potential turnover.
How to arrange jewelry on a market table?
Set up in three levels: tall elements at the back, medium heights in the middle, low trays at the front. Group the pieces by material or by color, never in a total mix.
What table height to choose to display jewelry?
A standard folding table, around 75 cm high, is suitable. Raise it with displays so that the jewelry is at eye level rather than at waist level.
How to protect your jewelry from wind and rain at a market?
Plan a parasol or an awning, weighted bases for light displays and a long tablecloth. Keep the finest pieces in a closed case when the weather gets bad.
How to display bracelets on a stand?
Use cylinders, tubes or steps that give back the volume of the wrist. Laid flat, bracelets lose their shape and their impact.
What supports to choose to display costume jewelry?
Opt for light wood, linen or faux suede, and group the pieces by color or by theme. A few busts of different heights give the rhythm.
Get our next articles
Tips, guides and new arrivals, straight to your inbox.